Plugins for Photoshop, Elements, Lightroom, PSP & others

Resources


Plugin Guide #4 - Xero Plugins

by Harald Heim


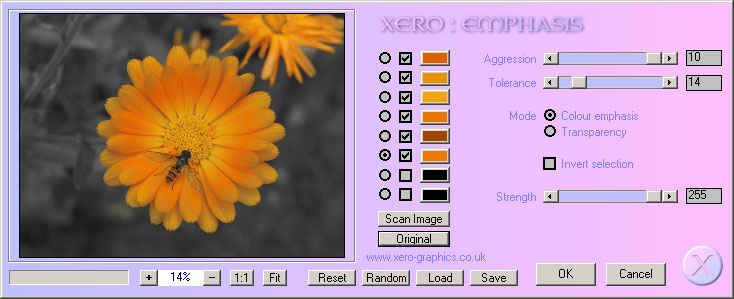
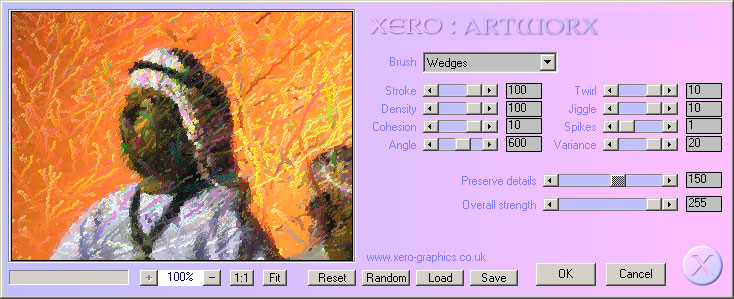
The free Xero Plugins consist of a total of 40 plugins, which are divided into four sets of nine plugins plus four extra plugins. The four sets were released in 2002 and 2003, but they have been updated since then with a new interface and new features.

The Xero Plugins display a non-resizable dialog with a preview that is small, but still allows convenient working. Only the Make-A-Flake plugin still uses the old interface with a too small preview. The background of the dialog is covered with a gradient that runs from a bluish purple to pink, which may need to take a bit to get used to for some people.

The effect can be adjusted with a whole range of control types: sliders, check boxes, combo boxes, radio buttons and color boxes. Some plugins also let you influence an effect by right clicking on the preview. Additionally all plugins except Set 1 have a Random button for creating random slider values and Load/Save buttons for opening and saving presets. Unfortunately, no presets are delivered with the plugins and there is no detailed manual for helping people better understand how the plugins work.

The Xero Plugins mostly produce subtle artistic photo effects. Some Xero plugins try to imitate artistic styles (e.g. Artworx, Caravaggio, Cubism, Lineart, Lithograph, Pastellise, Simplicity) and others soften the image in various ways (e.g. Alienmist, Mistifier, Porcelain, Serious Fog, Soft Mood). There are also some grain effects (e.g. ArtGrain, Artifax, Fuzzifier, Tekstya), color and B&W effects (e.g. DuoChrome, Emphasis, Greyscaler, Greytinter, Moodlight, Seasons, UltraViolett), photo enhancing plugins (e.g. Clarity, Improver, SuperSmooth, Tweaker) and several others that can't be categorized that easily.

A poll on the Xerographics web site showed that people like Porcelain (22%), Lineart (7%) and SoftMood (6%) best, but I think that the Artworx, Emphasis and Soft Vignette plugins are the most sophisticated ones. All in all, the Xero Plugins promise a lot of surprising and useful photo effects.

 Info & Download
 www.www.xero-graphics.co.uk
  
 Installation
 

If you use an Adobe application, please create a sub folder called "Xero" in the Plug-Ins folder of your application's folder and copy the unzipped Xero plugins into it.

If you use Paint Shop Pro, PhotoImpact or Photo-Paint, you can put the unzipped Xero plugins in any folder you like. Afterwards you have to select that folder in the Preferences dialog of your application.

After restarting your application, you can find them on the "xero" sub menu of the Filter or Effect menu.

For detailed information on installing plugins please see here.


Color Emphasis
01 Choose An Image
Please use a photo that contains color areas that are clearly separated from each other.


02 Pick Your Colors
Run the Emphasis plugin and press Reset. You can try the Scan Image button for an automatic effect, but usually you need to activate the radio button in front of a color box and right click on a color in the preview. You often have to pick several colors until the object you want to keep colored doesn't contain any gray areas anymore.
03 Fine-Tuning
To fine-tune the masking try the various sliders on the left. You can also activate the "Invert selection" check box to invert the effect, but this normally requires assigning new colors to the color boxes to get a sufficient result.
 
Zoom FX
01 Choose An Image
Open a photo that has a main subject and some textured areas around it. A blank background doesn't work, because the zoom effect won't be visible then.
02 Creating The Zoom Effect
Run the Soft Vignette plugin and hit Reset. Select "Radial" from the Gradient shape combo box, choose "Zoom in" from the Effect type combo box, set the Width and Height sliders to -100 and the Strength slider to 30 for a stronger effect. Finally right click on the preview on the main subject in the photo to center the effect.
03 Fine-Tuning and Variations
Unfortunately the preview doesn't show the final effect correctly, so you have to use a higher Strength value to get the same effect in the full-sized image. You should also try setting various other places in the image as the effect center. Right clicking somewhere near the subject may produce an even more dynamic effect. Try out the "Zoom out" Effect type or set it to "Blur" and increase the Strength value.
 
Wild Painting
01 Choose An Image
Please use a photo that would look good as a painting. Portrait photos of children will especially profit from this effect.


02 Painting By Numbers
Run the Artworx plugin and press Reset. Press the 1:1 button, otherwise you won't see the effect as it will look in the end. Choose "Wedges" from the Brush combo box and set all sliders to their maximum value except Angle to 600 and Spikes to 1. Decrease the value of the Preserve details slider until you are satisfied with the stroke effect. We used a value of 150 here to make the effect better visible.
03 Variations
You can further play with the painting effect. A higher Spikes value will dramatically increase rendering time, but also increase the skill level of the "virtual painter". Decreasing the Overall strength slider will gradually make the brush strokes less visible. A nice way to explore possible paint effects is to repeatedly click on the Random button.


This article was published in Issue 26 of the Digital Photo Effects Magazine. It was updated for The Plugin Site in May 2006.


Still got questions ?