Plugins for Photoshop, Elements, Lightroom, PSP & others
Plugins for Photoshop, Elements, Lightroom, PSP & others
Applying the Edges in CorelXara
I. The Easy Way
1. Import the photo file you want the edge to be applied to with Import from the File menu.
2. Import one of the edge files from the edge sub folder with Import from the File menu.
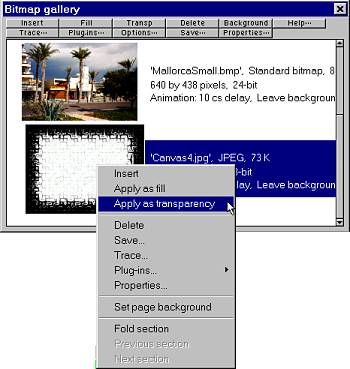
3. Select the Bitmap Gallery from the Utilities menu.

4. Right click on the edge file in the Bitmap Gallery and select Apply as transparency from the context menu.

5. Use the handles of the edge object to make it the same size as the photo. Makes sure that the edge lies over the photo.
6. Choose Select All from the Edit menu or press Ctl +A to select both objects.
7. Choose Group from the Arrange menu or press Ctl+ G to combine both objects.
8. Select Create Bitmap Copy from the Arrange menu or press Ctl+ G to combine both objects.
9. In the Create bitmap option dialog make sure that the correct settings are set (e.g. that the color depth is set to 24bit) and press the Create button.
10. Save the created bitmap with Export from the File menu.