Plugins for Photoshop, Elements, Lightroom, PSP & others
Plugins for Photoshop, Elements, Lightroom, PSP & others
Applying the Edges in After Effects
1. If you haven't already opened a new composition, press <Ctl + N> to do so.
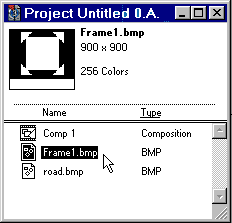
2. Import a photo, video clip or animation by pressing <Ctl + I>.
3. Press <Ctl + I> again and choose a edge file from the edge sub folder.

4. Both files will appear in the Project window.
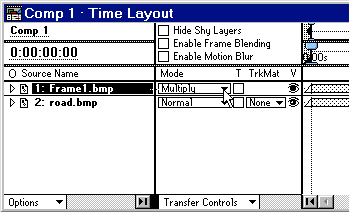
5. Drag both files into the Time Layout window, but make sure the edge layer is above the photo layer.

6. From the second pop up menu at the bottom of the Time Layout dialog, choose "Transfer Controls".
7. Activate the edge layer by clicking on it and choose "Multiply" from the Mode pop up menu.
8. To adjust the two layers to match the composition resolution, do the following with each of the two layers:
a. Activate the layer by clicking on it in the Time Layout window.
b. Press <Shift + Ctl +S> to display the Scale dialog.
c. In the Units combo box select "% of composition".
d. Replace the values in the Width and Height combo boxes with "100%". You will probably have to uncheck the Preserve Frame Aspect Ratio check box to be able to do this.
e. Press OK.

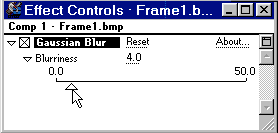
9. Finally you can apply a blur to the edge layer to make the edge borders smoother, if you like. Start by activating the edge layer in the Time Layout window by clicking on it. Then choose Blur | Gaussian Blur from the Effects menu and adjust the Bluriness in the Effect Controls window.
If you want have a white background instead a black one, choose in step
7 Screen as mode (instead of Multiply) and apply Channel | Invert from
the Effect menu to the edge layer.