Six different AdjustShop effects were applied to the image.
Photo: elwynn / pixmac
Example
2
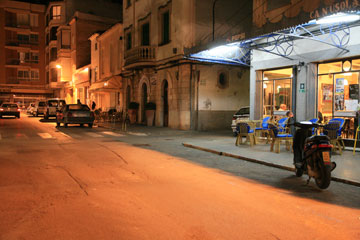
The Cool-Warm preset of AdjustShop's Photo Gradient effect was applied with an increasesed Amount setting.
Photo: Photos.com
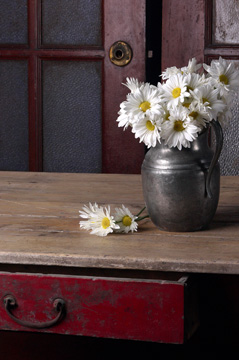
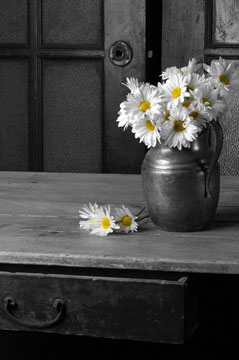
Example 3
The Color Adjust effect of AdjustShop was applied. The Type radio button was set to "Black & White" and the Yellow slider of the Color tab sheet was used to create this selective black & white effect.
Photo: Roberto Muscia
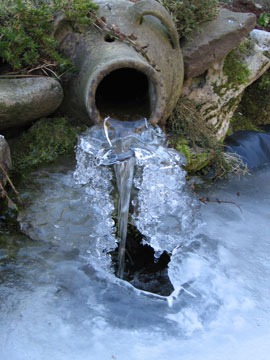
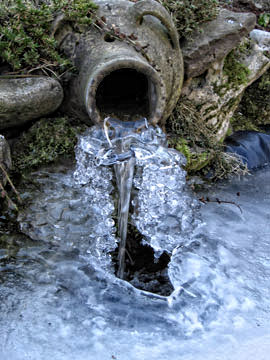
Example 4
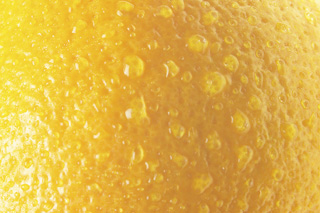
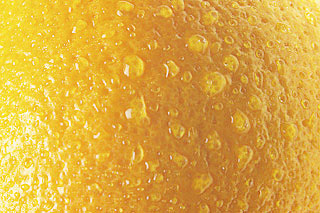
The Micro Contrast effect of AdjustShop enhances the texture of the ice.
Photo: Igor Stepovik / pixmac
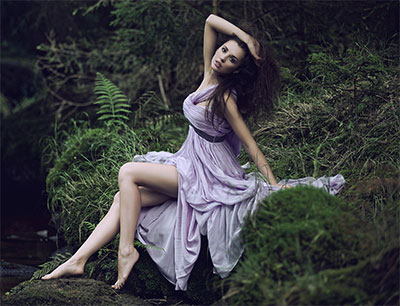
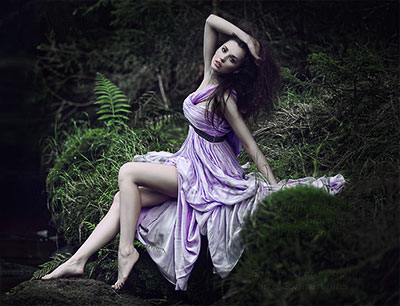
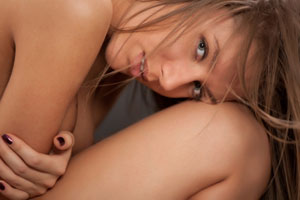
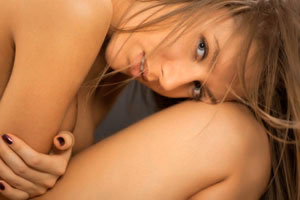
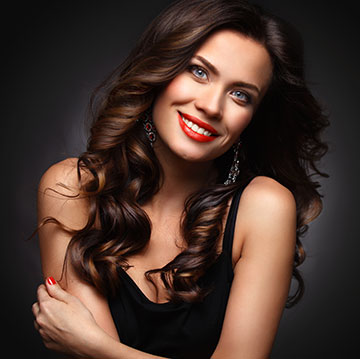
Example 5
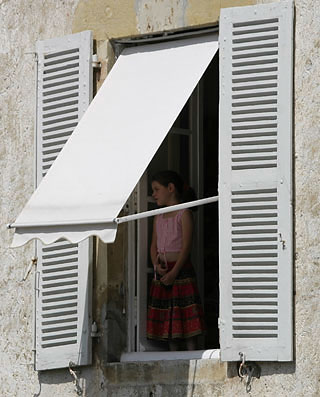
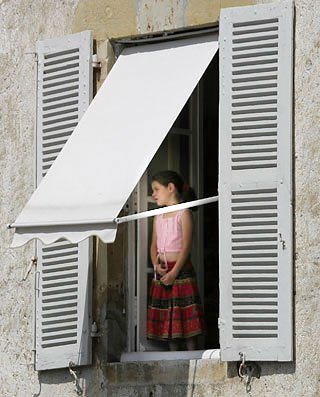
The Summer Colors feature of AdjustShop's Creative Colors dialog produced a more natural looking skin tone.
Photo: Harald Heim
Example 6
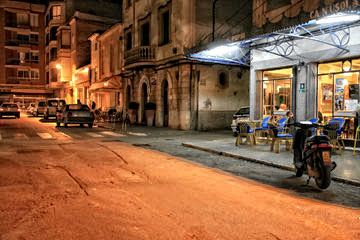
The Photo Gradient effect of AdjustShop with the Tabacco preset applied.
Photo: Margo Harrison / pixmac
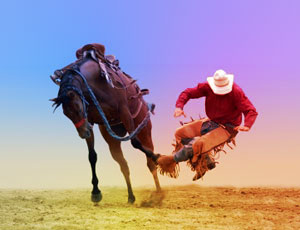
Example 7
The 2D Gradient effect of AdjustShopset set to Overlay. A blue color spot was added to the horse, a red one to the cowboy and two yellow ones on the floor.
Photo: Opolja / Dreamstime
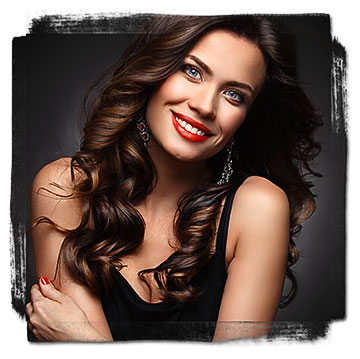
Example 8
The Frame effect of AdjustShop can be seen here. Afterwards Highpass Sharpen was applied.
Photo: Harald Heim
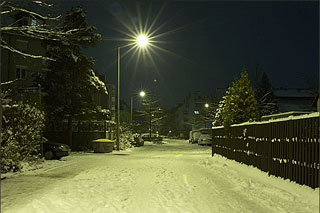
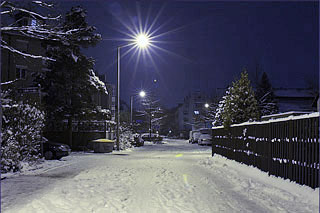
Example 9
The green color cast was removed with the Color Correction effect by clicking on the snow with the eyedropper tool. Afterwards the dark areas were brightened with the Tonal Adjust effect.
Photo: Harald Heim
Example 10
The Micro Contrast effect of AdjustShop brings out the details in photos.
Photo: Photos.com
Example 11
The Highpass Sharpen effect of AdjustShop was applied with a high amount and low radius setting.
Photo: Harald Heim
Example 12
By setting the Ambience slider to 100 the Lighting Effects dialog of AdjustShop can be used to selectively brighten image areas with light spots.
Photo: Photos.com
Example 13
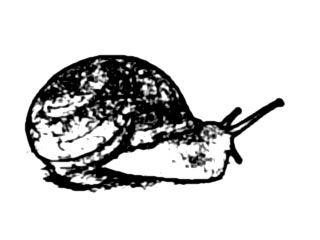
The Antialias effect of AdjustShop creates sketch or water painting effects when applied to color images. Here the Colors slider was set to 0 to remove all color.
Photo: Photos.com
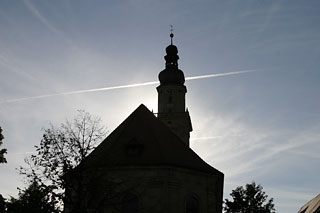
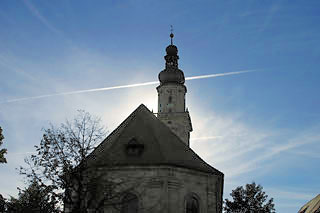
Example 14
The Tonal Adjust effect of AdjustShop was applied to the shadows and brightened up the black silhouette of the church. Afterwards Tonal Adjust was applied to the highlights to give the sky a more blue look.
Photo: Harald Heim
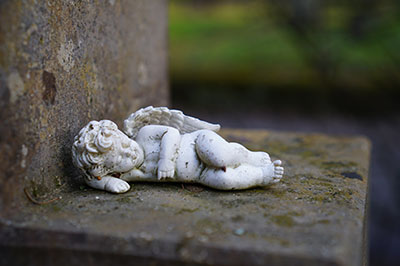
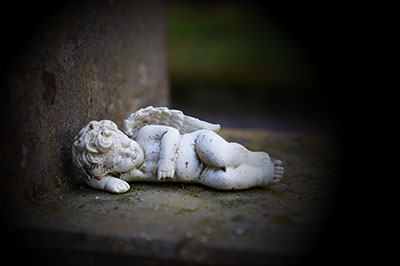
Example 15
The Vignette effect was applied to center the focus on the small figurine.
Photo: Harald Heim
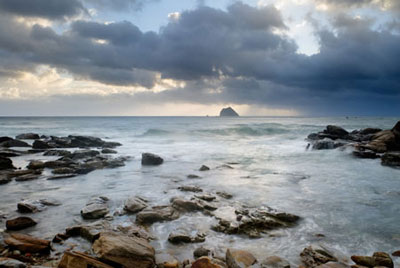
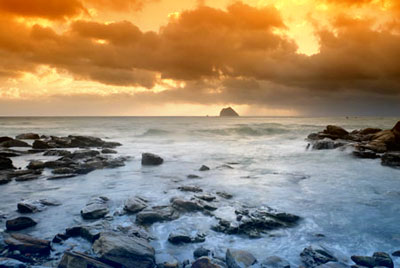
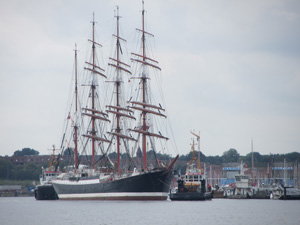
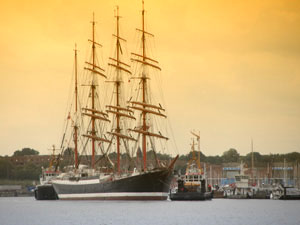
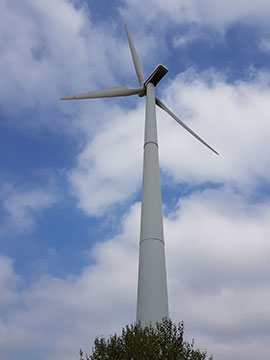
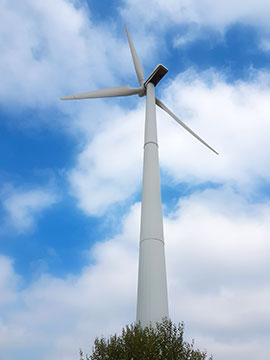
Example 16
The RGB, Cyan and Saturation channels of the Levels effect of AdjustShop were used to increase contrast, improve the sky color and boost the saturation. Afterwards the Glow effect was applied to make the clouds look more fluffy.