Plugins for Photoshop, Elements, Lightroom, PSP & others
Plugins for Photoshop, Elements, Lightroom, PSP & others
Alienskin Snap Art 3
by Kay Michael Kuhnlein
|
||||
|
Writing a review about Plugins from Alien
Skin such as Snap Art 3 is really not easy, because you can learn
everything you want to know on their website alienskin.com. There
you will find extensive and easy instructions that let no question
unanswered. The good thing is that you even do not have to be able
to read, you will find perfectly designed videos. My opinion: absolutely
brilliant. 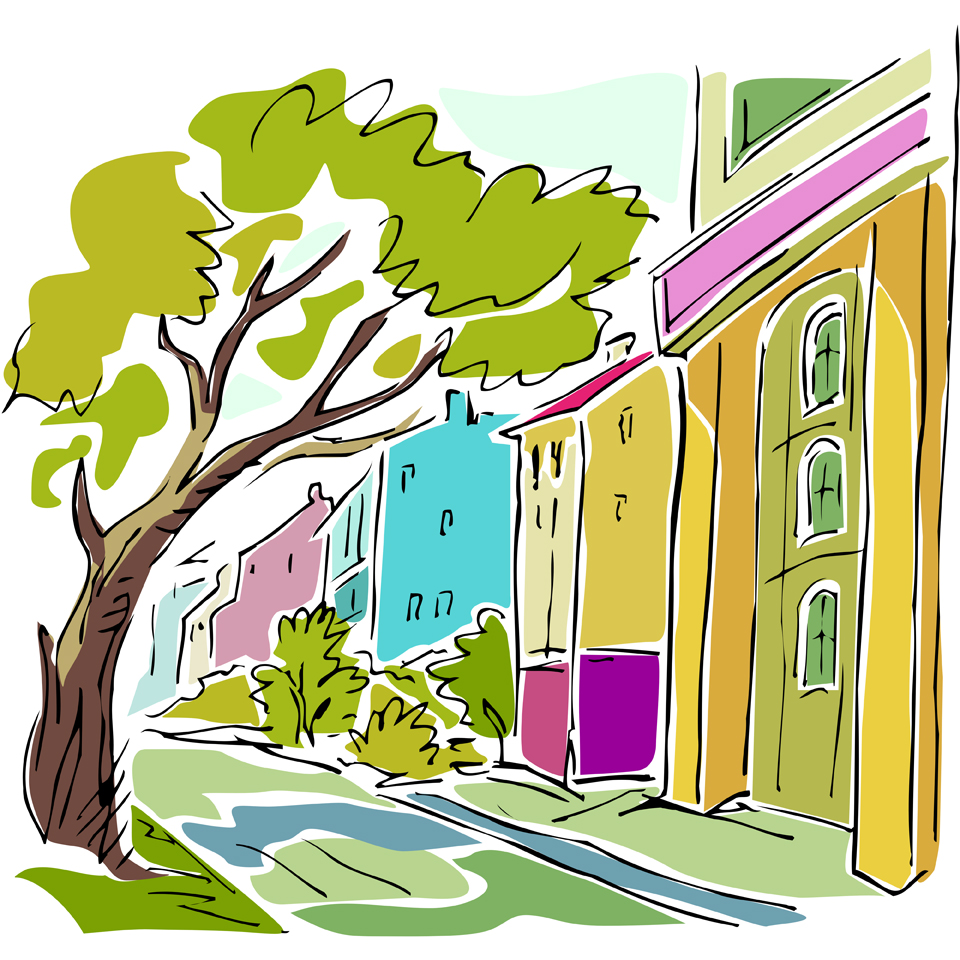 (looks nice, but it is just a clipart) Would be marvellous if you could make an ?individual artwork? of it. It works, Snap Art 3 is excellently suited for that. 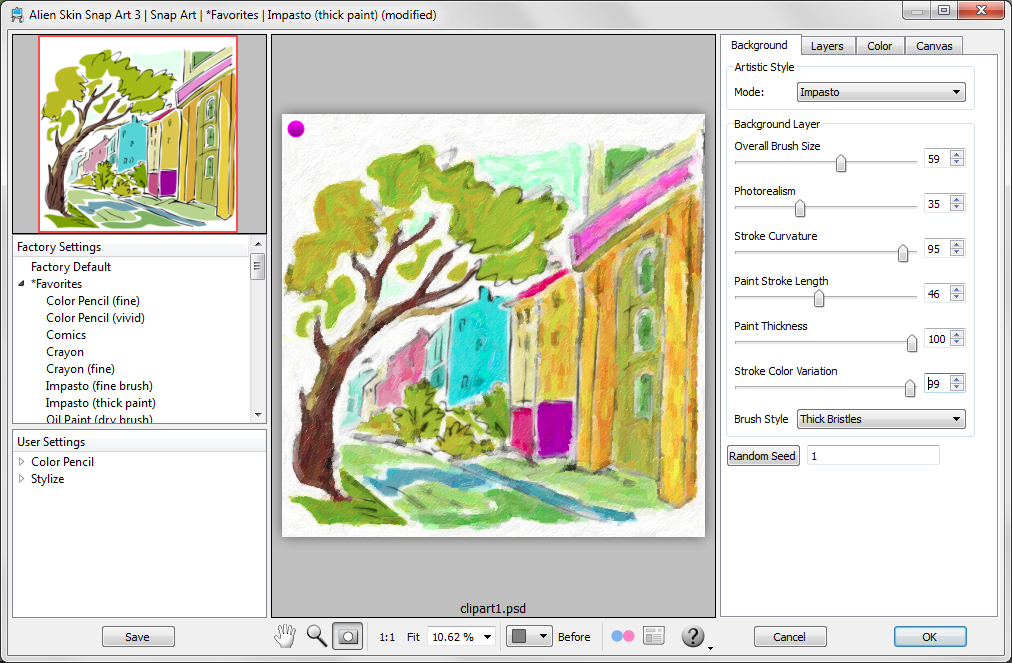 (work surface of Snap Art 3) The clipart was saved in Photoshop as a *psd file, afterwards I started Snap Art 3. The canvas is neatly arranged and can be used intuitively. Should you nevertheless do not know how to proceed, don?t forget that you will find help on the Alienskin website. With this example I have chosen an easy one. On the left hand side you will find various settings of all drawing styles on the menu item Favourites. From there I chose Impasto (dicker Malstrich) and then I modified several parameters on the right hand side. With this quite simple workflow you will get the desired result in most cases.  (No spectator will notice that this was once a clipart) Note: Snap Art 3 works in an own window, just when you start the plugin, you get the corresponding information. Thus after clicking OK the settings are assigned and you get back to the canvas of Photoshop or the host application of your choice. Because it was so nice and easy, just one more example without many words. Firstly you see the original clipart.  (The original clipart is meant to get an individual look) 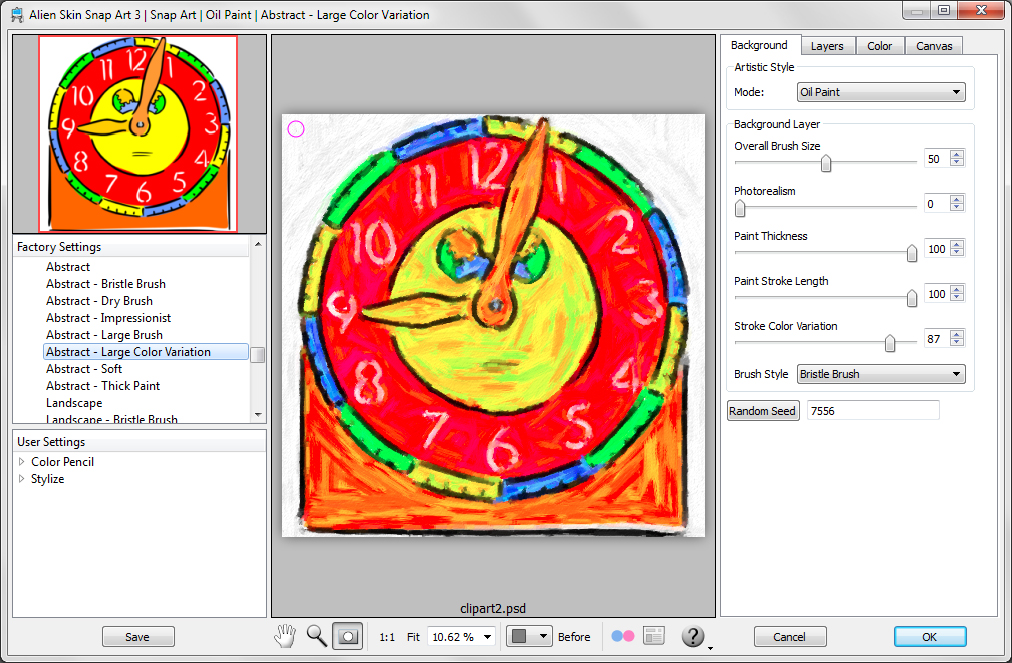 (choose a preset on the left hand side and if necessary, adjust the settings) Here I also chose a preset in the left area of the canvas and I accepted without any further changes, because the result overwhelmed me instantly. 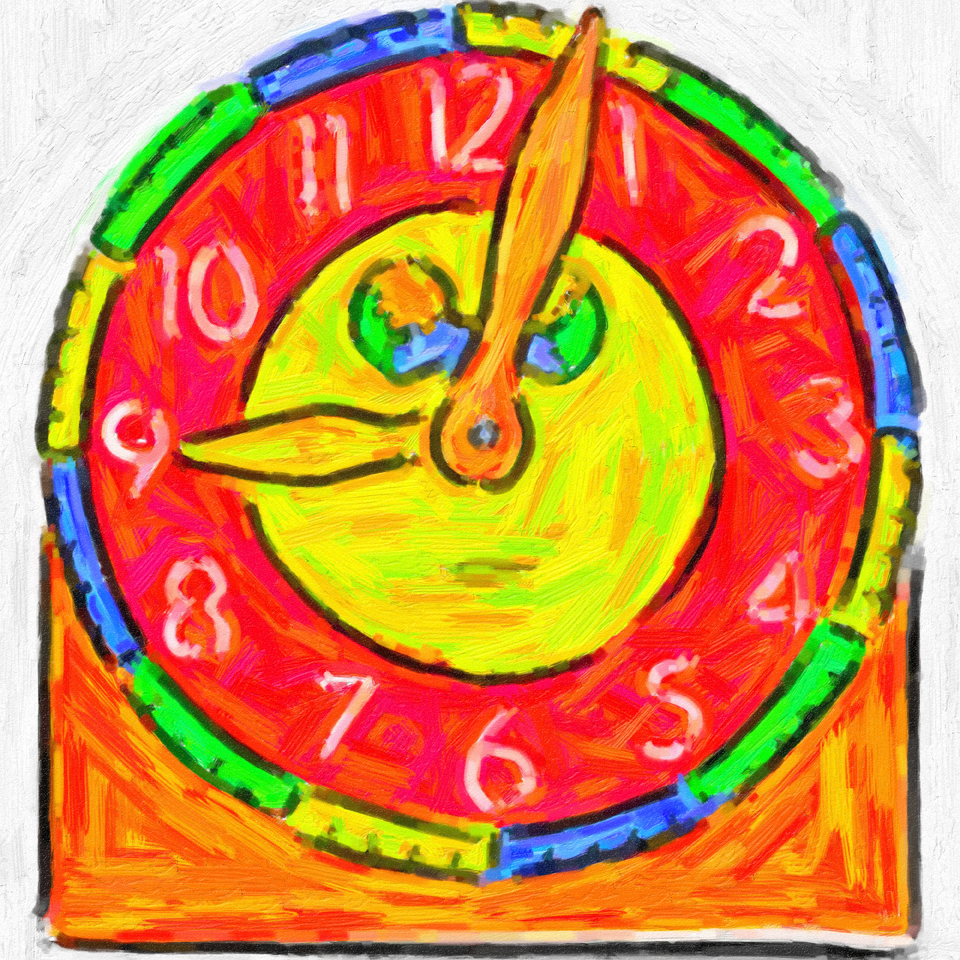 (An artwork ?of mine? ? was this once a clipart? Enough with the cliparts, you should try it yourself, how easy it is to make an individual artwork out of that. Without a hint, no spectator will strike on the idea, what the original image was. Modern art with Snap Art 3 and drawing style: Stylize Art, that means works which are created with the most diverse drawing styles, will be judged even faster by the spectator as positive or just negative than any unprocessed photo. May there in fact be helpful hints for optimal results with photography, with drawn images this is not very reasonable. If you like making artworks out of photos, here is my tip: do exclusively observe your own taste and do not give a damn about the opinion of other people. Only if you try to earn money with that, it may probably be helpful to take other spectators` judgements somewhat more serious. 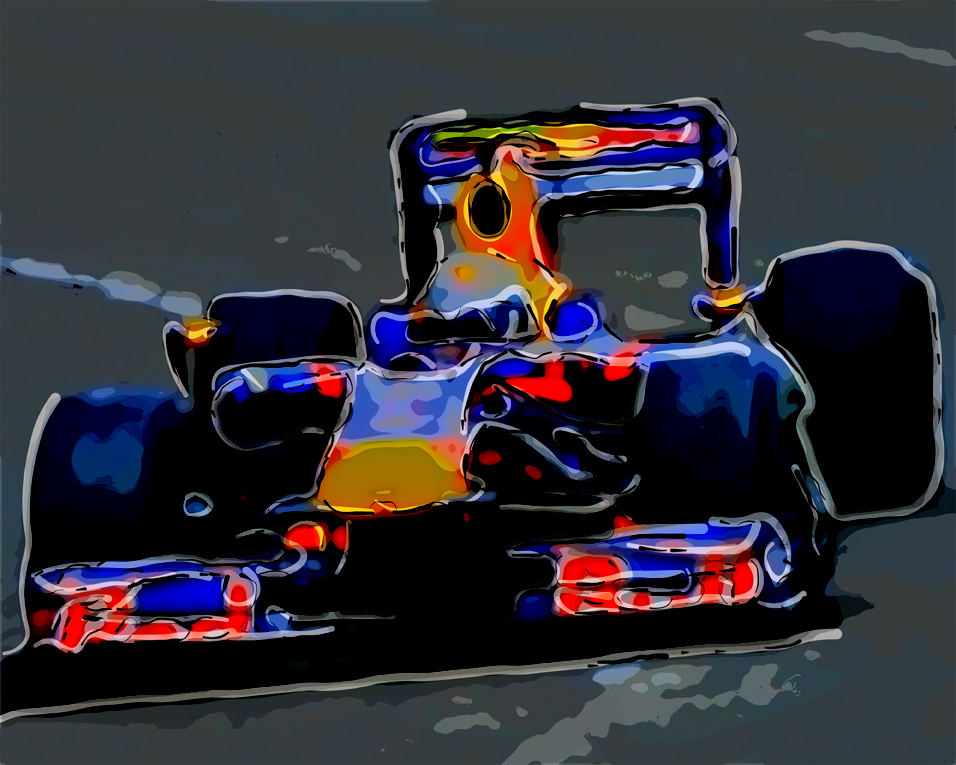 If you like a bit the abstract style of art, then the drawing style Stylize of Snap Art 3 is the right choice. Tip: before working with the drawing style Stylize, the original image gets a blurring with the Gaussian blur at a strength between 15 and 20 pixel. Just experimentalize, maybe you like the particular result better, too.  With the drawing style Stylize you can change the colour of the drawing lines. At the example mentioned above I set the colour for ?pen color? to white in the tab sheet. All other changed values depend on the original image, so a listing here is not very useful. 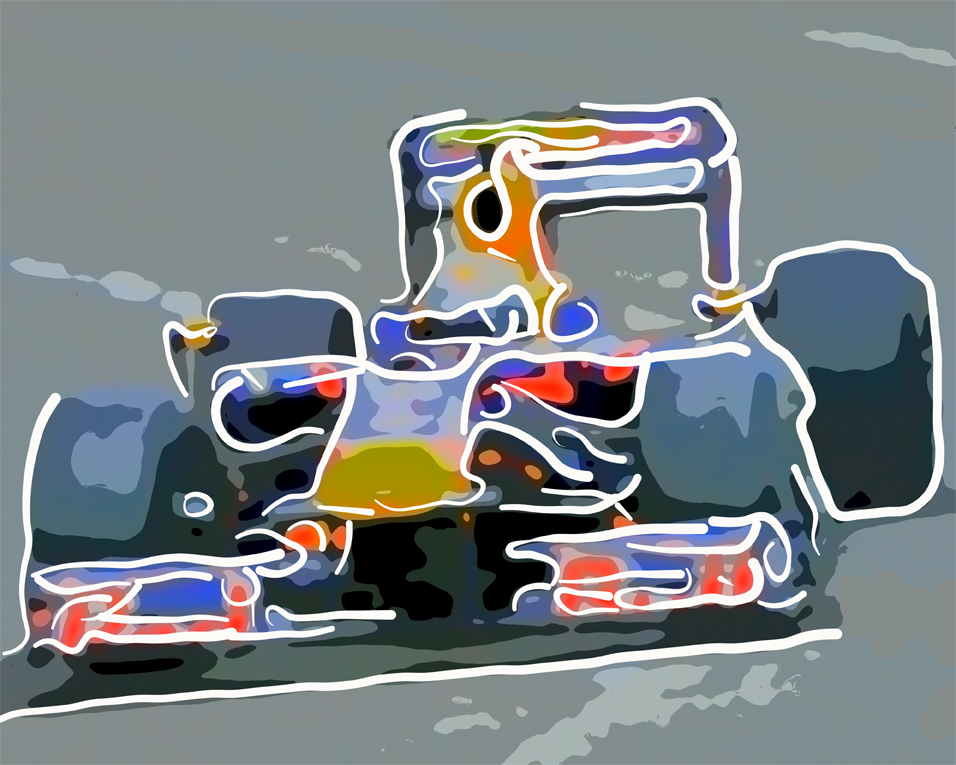 (This is an intermediate result for Stylize with white lines) As far as working with plugins is concerned, I do normally not only rely on the program?s functions, but I additionally like to experimentalize with the general features of Photoshop. There was the notion to process the original image again with Snap Art 3, but this time with a black pen color. This works very easily, because Snap Art 3 provides the result on a new layer at the corresponding settings. That is why the original layer is always remained.  (Stylize result with thin black lines) 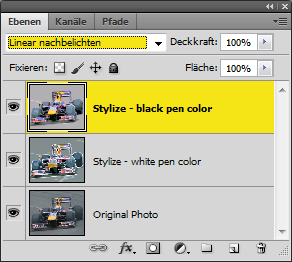 (Changing the filling method) For the image shown at the beginning I set the filling method for the layer with the black lines on linear burn. That actually was it, Sebastian Vettel in his Red Bull racing car as an abstract artwork is successful. This drawing style is also excellently suitable for really abstract works. The original image is ideally a texture in the colours you prefer. 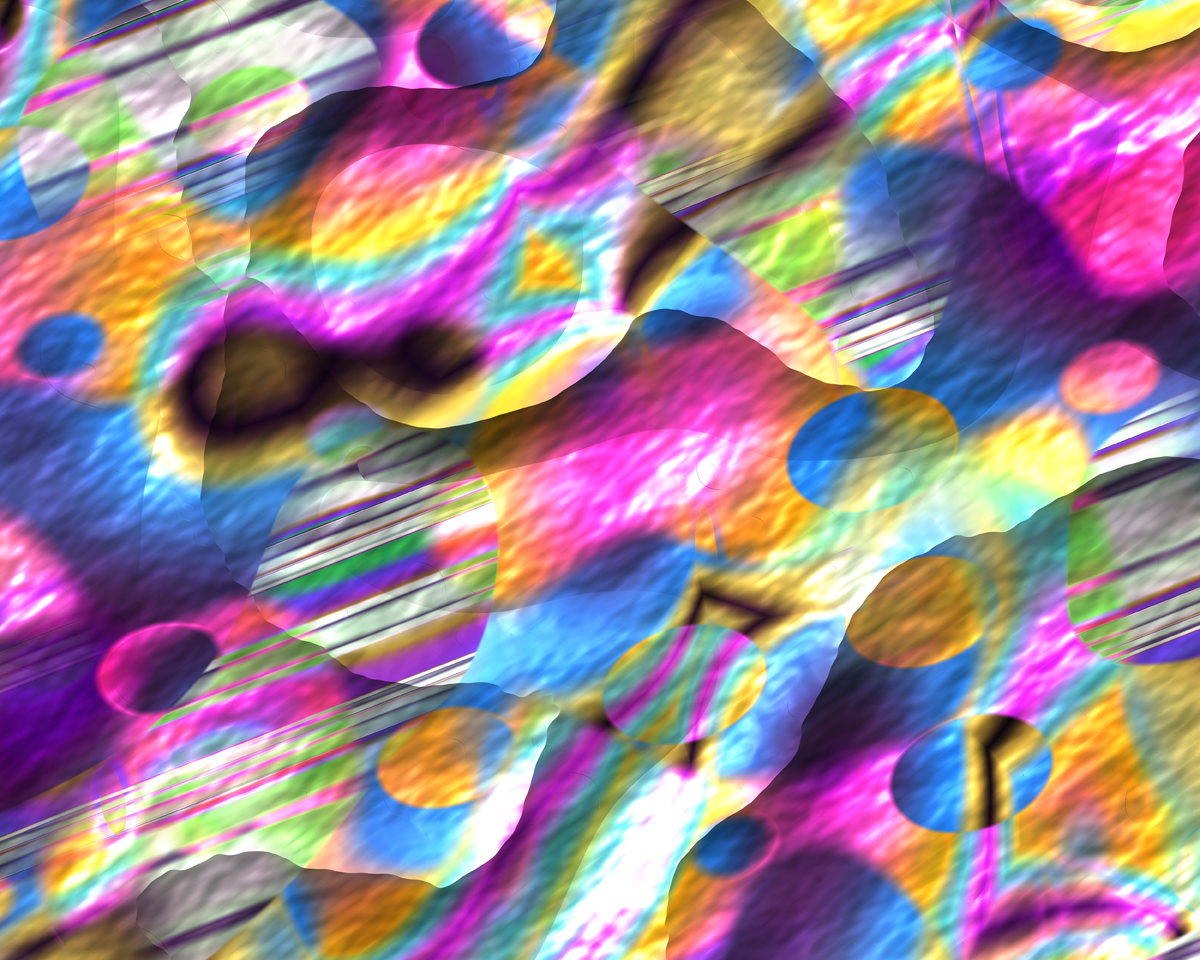 (original image for the abstract artwork) 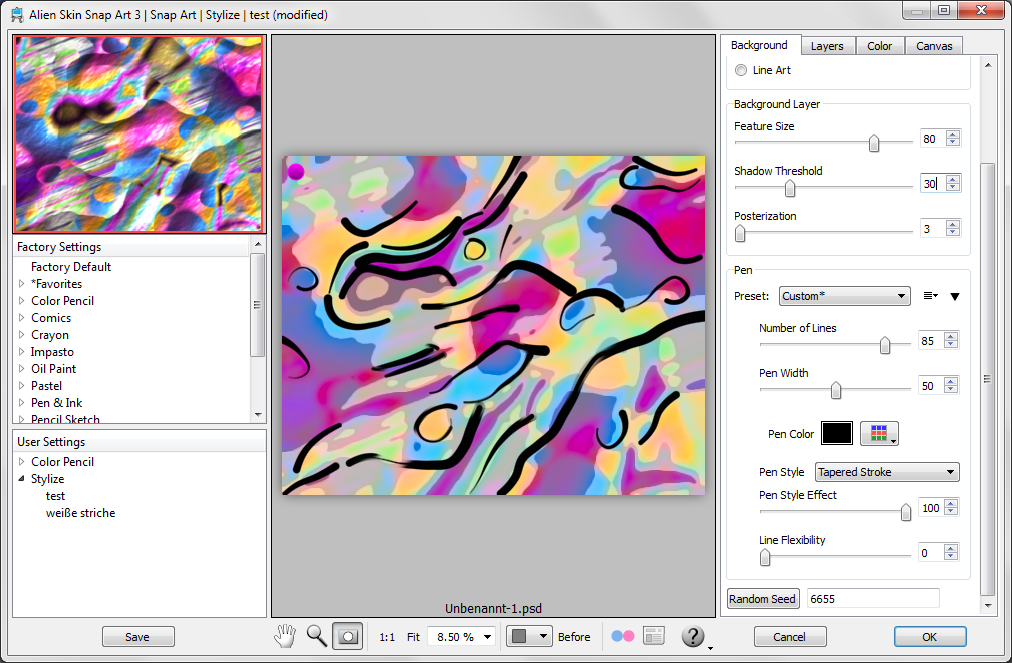 (the canvas for the abstract style of art) This time I firstly applied the drawing style Stylize and the Factory Default setting. Afterwards I changed the parameters on the right tab sheets until the result was in accordance with my ideas.  (This is impressive, printed on canvas an ideal, completely individual present) Probably my examples arose somewhat your interest in Snap Art 3 and you develop into a digital artist. Now you know where you can find a perfect tool for that. STOP: Snap Art 3 has a whole range of new features, such as the possibility of working with masks to weaken drawing lines in image areas or to display them stronger. To work more accurately and more precisely you can also create new layers and control the result with them. If you ask yourself at this point, why I have not delivered detailed descriptions here, please go back to the beginning of the review and read. Alien Skin offer such a sharp description on their website concerning all these options, so that only a repetition of the facts would have been possible. That would not really have been very helpful for you. My conclusion: Alien Skin Snap Art 3 is absolutely recommendable without any limitation for users who work with the motto photo-photographic art-art. May yo do well! Kindest regards, Kay Michael Kuhnlein |
Return to the Main Reviews page