|
You can purchase the Mystical Gen2
bundle either with all effects or in parts - It is up to you. Like
all the other products of Autofx they work as plugins or you can
use the standalone version on your photos.
For the following review Mystical Gen2 runs
as a plugin in Photoshop CS6 and both troll on Windows 7 64bit.
There was no problem with installation, everything worked out properly
including the entry in the Filter menu.

With this you optimize your photos
Mystical Gen2 is similar to a WalMart that offers almost everything
among its product range, but only concerning the area of image optimization.
Light, shadow, colors, saturation, contrast, blur, unsharp and many
more are provided, simply use them as required.

Each plugin of AutoFX with an identical worktop
Open Mystical Gen2 and click on one of the presets. As fas as my
example is concerned, I selected the preset Focal Zoom Center
from the group Focal Lens. At the left-hand side I can
find all sliders and tools to change the result of the effect as
needed.
If you have already worked with another product of AutoFX, then
you will certainly be surprised in a positive way. All plugins have
an almost identical UI which makes the work easier for you.

Focal Lens – Preset Focal Zoom Center – photographer:
Silvia Kuhnlein – www.a-dezign.de
With this effect I blurred the background and the edges of the flower
somewhat.
Several effects onto one image

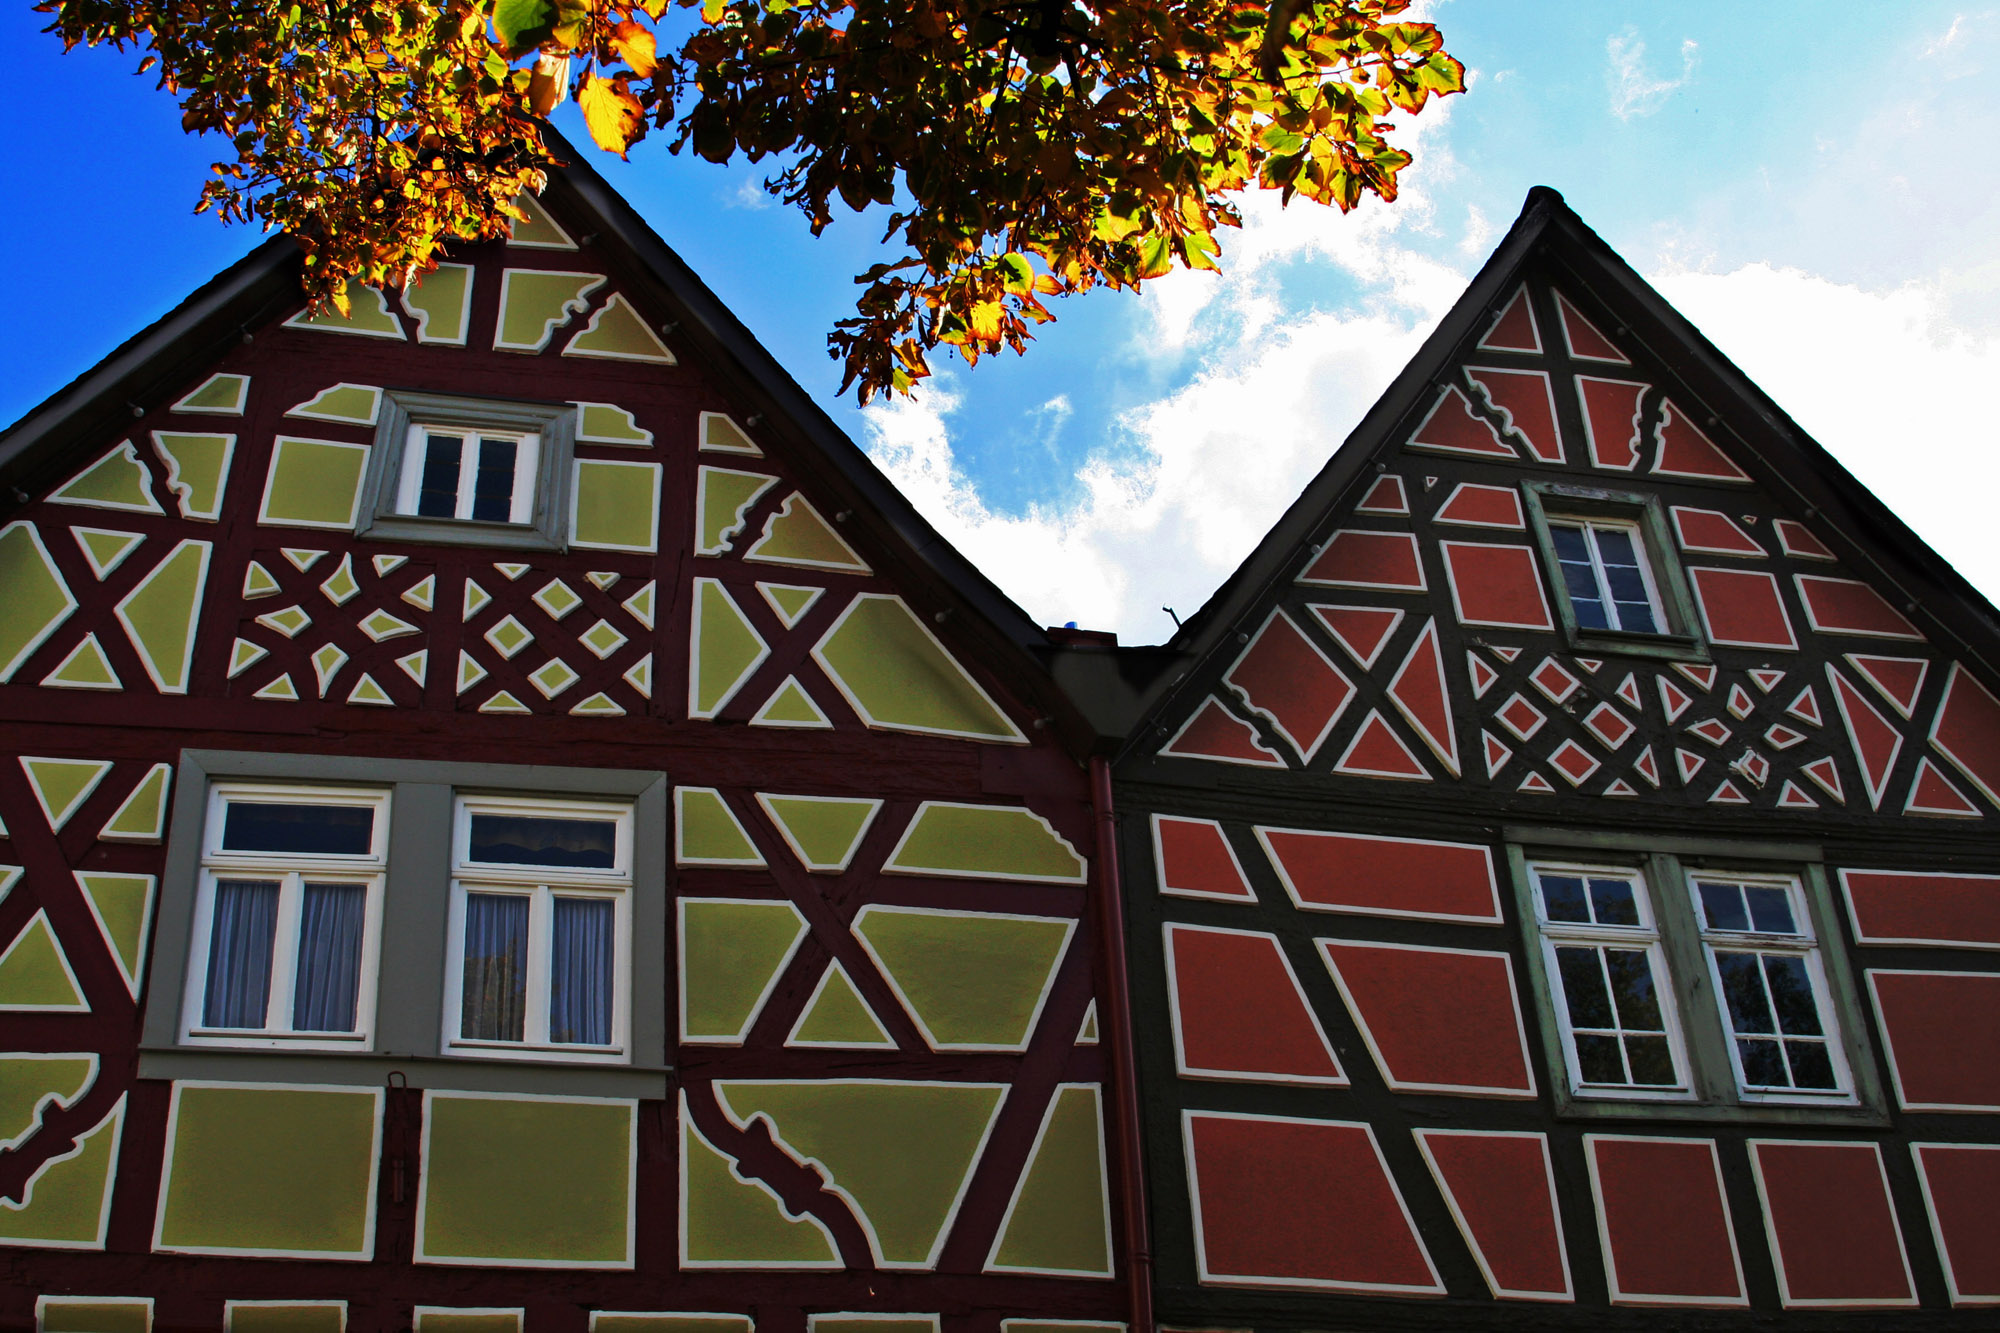
The original photo – Fachwerk houses in Germany – photographer:
Silvia Kuhnlein – www.a-dezign.de
In the original image the sky with the clouds is somewhat too bright,
the houses a bit too dark. This leads to somewhat lifeless colors.
Let´s see how Mystical Gen2 can help with this.

With the brush the effect can be limited.
The chosen effect changes the whole image. With the brush it is
feasible to undo the effect on certain area parts, so that only
the sky, the clouds and the tree get finally a somewhat darker coloration.
The effect that was used is AFX Solutions, Landscape. The
preset was: Sky and Cloud Darkened. Alternatively Color,
Darken Color leads to the same result.

This time the screenshot does not display the result that realistic,
I do really not know, why.

In the resulting image the work is better to notice, it was worth
the effort – HDR Contrast –
photographer: Silvia Kuhnlein – www.a-dezign.de
As you can see, with only two effects the photo has the coloration
that I wanted. The optimization was not meant to be too harsh, but
rather remain on a natural level. This was achieved.
Sie sehen mit nur zwei Effekten hat das Foto
jetzt die von mir gewünschte Farbgebung.
A revelation that is helpful for you: Whoever
uses Mystical Gen2 als a standalone version, does not need an expensive
image editing software (except for Mystical Gen2 itself, of course).
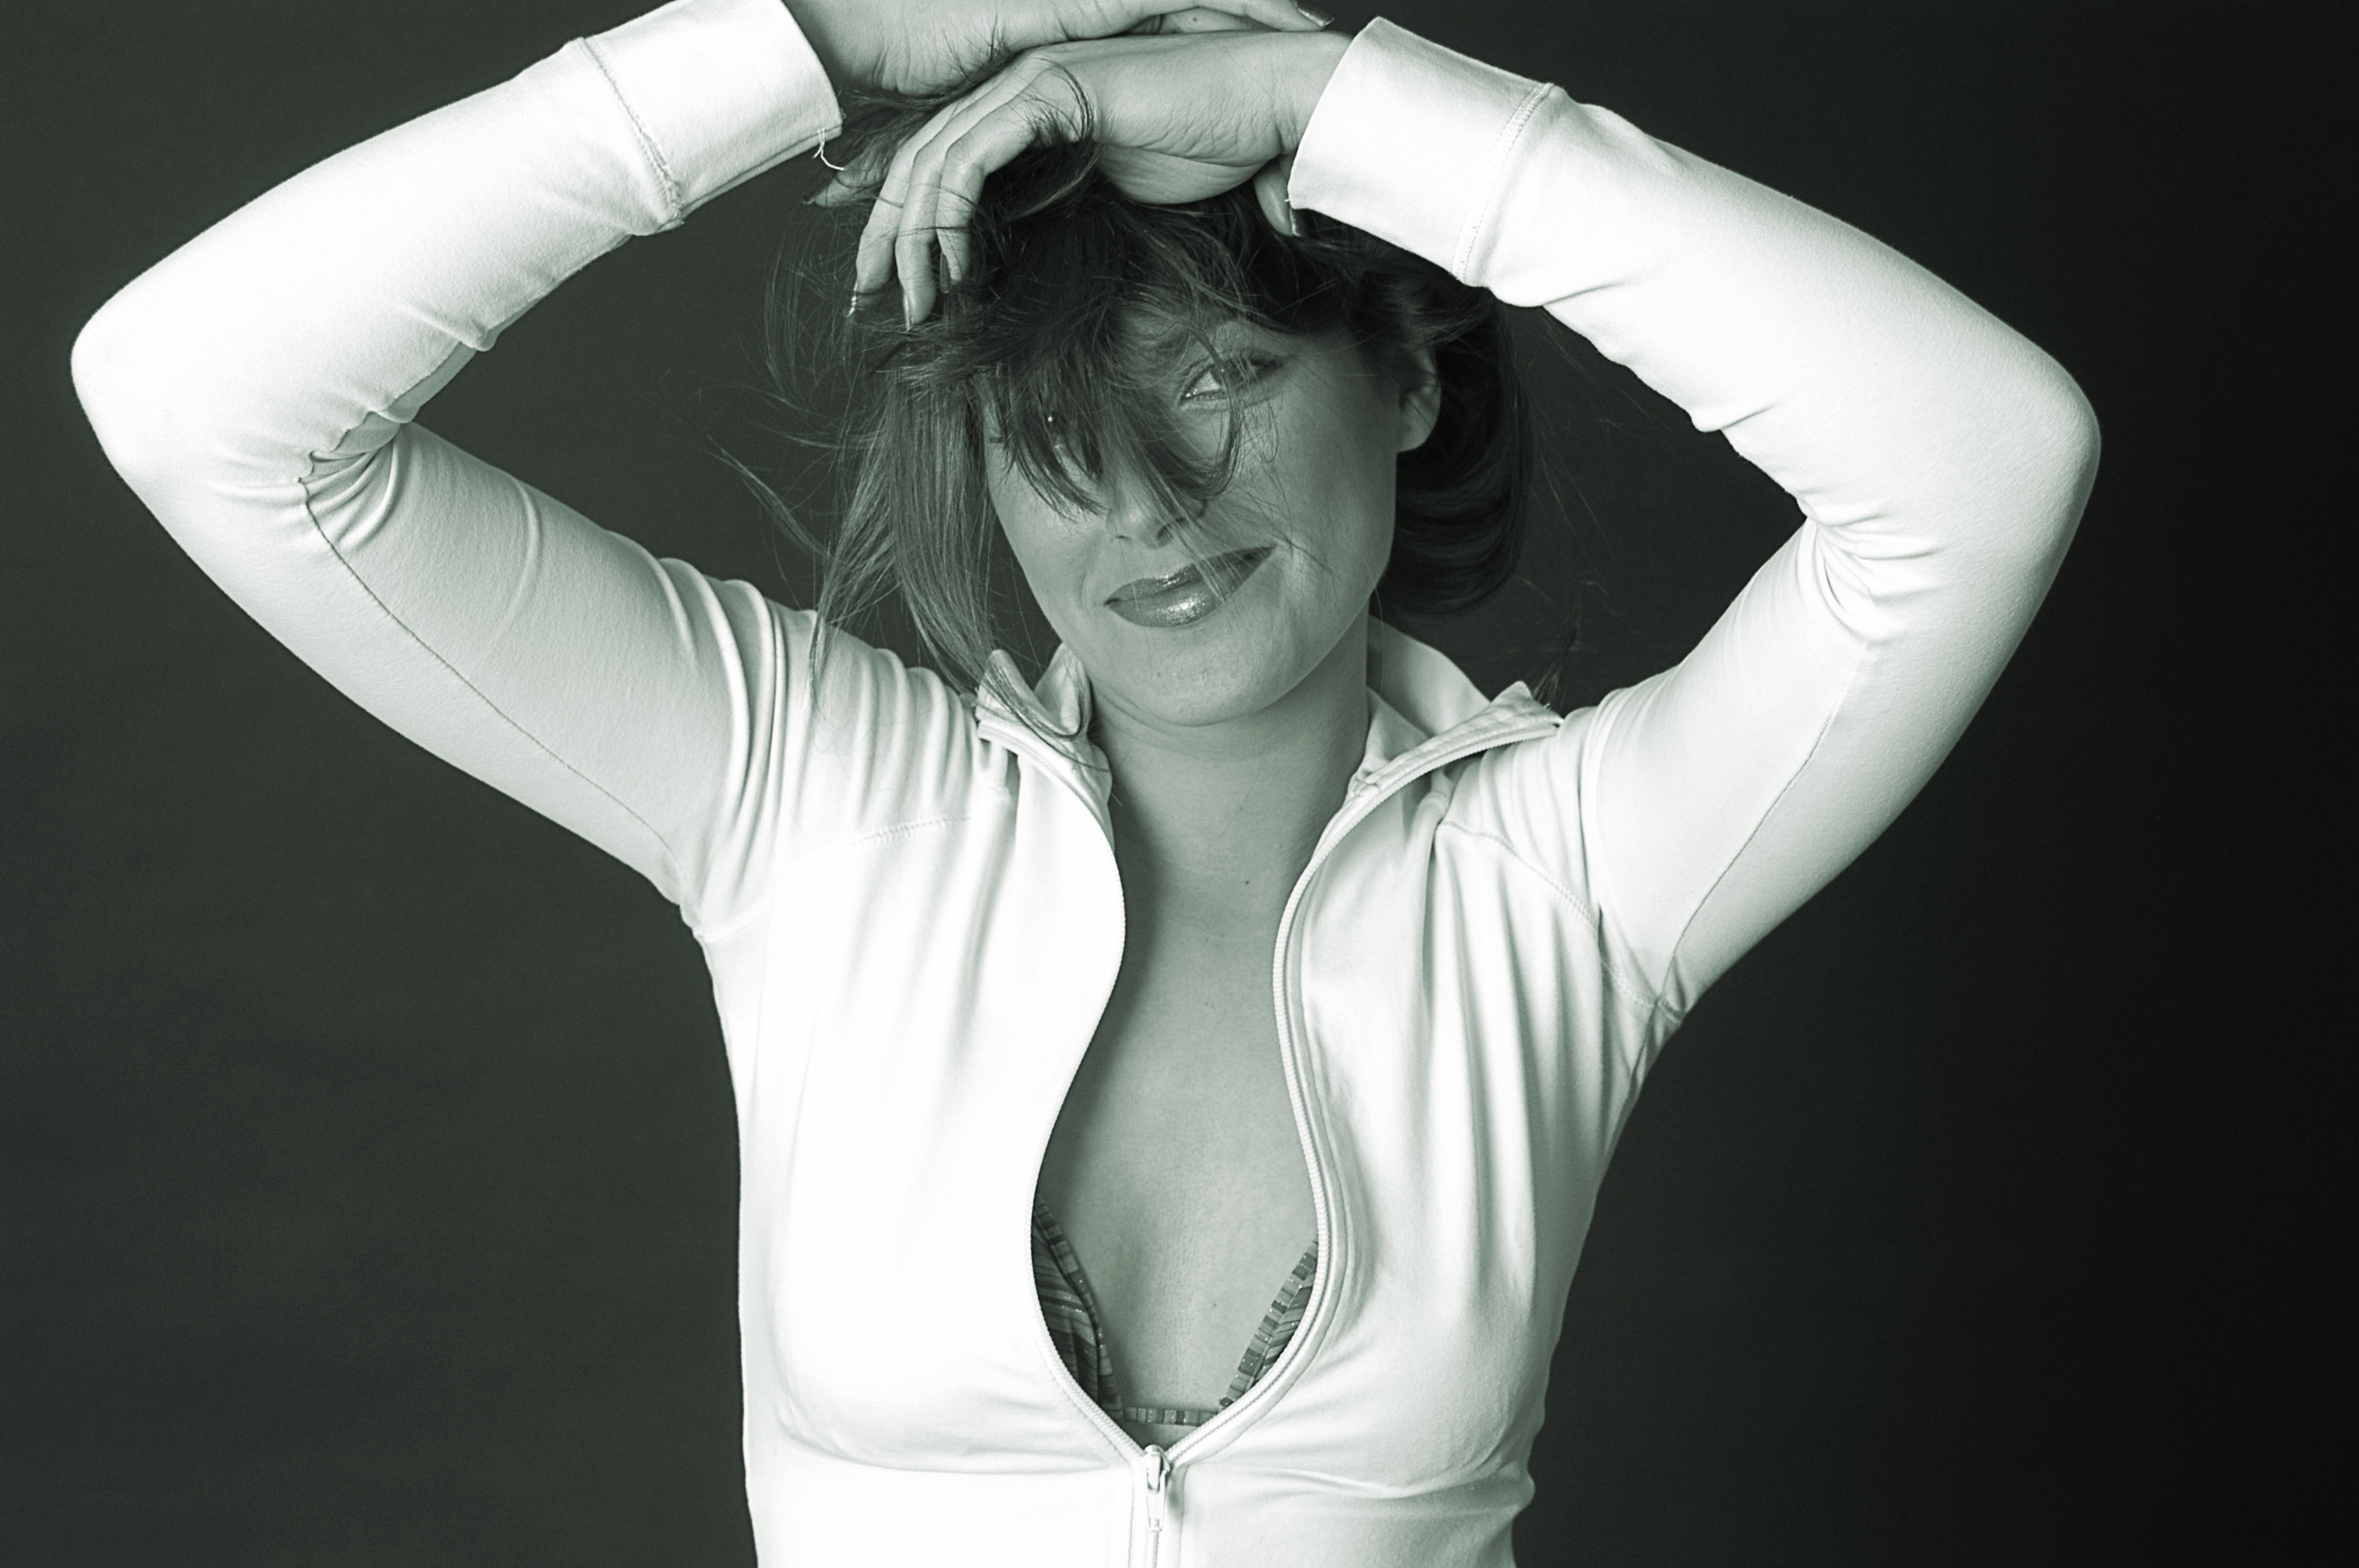
„Cool Grey“ with a small touch of
green
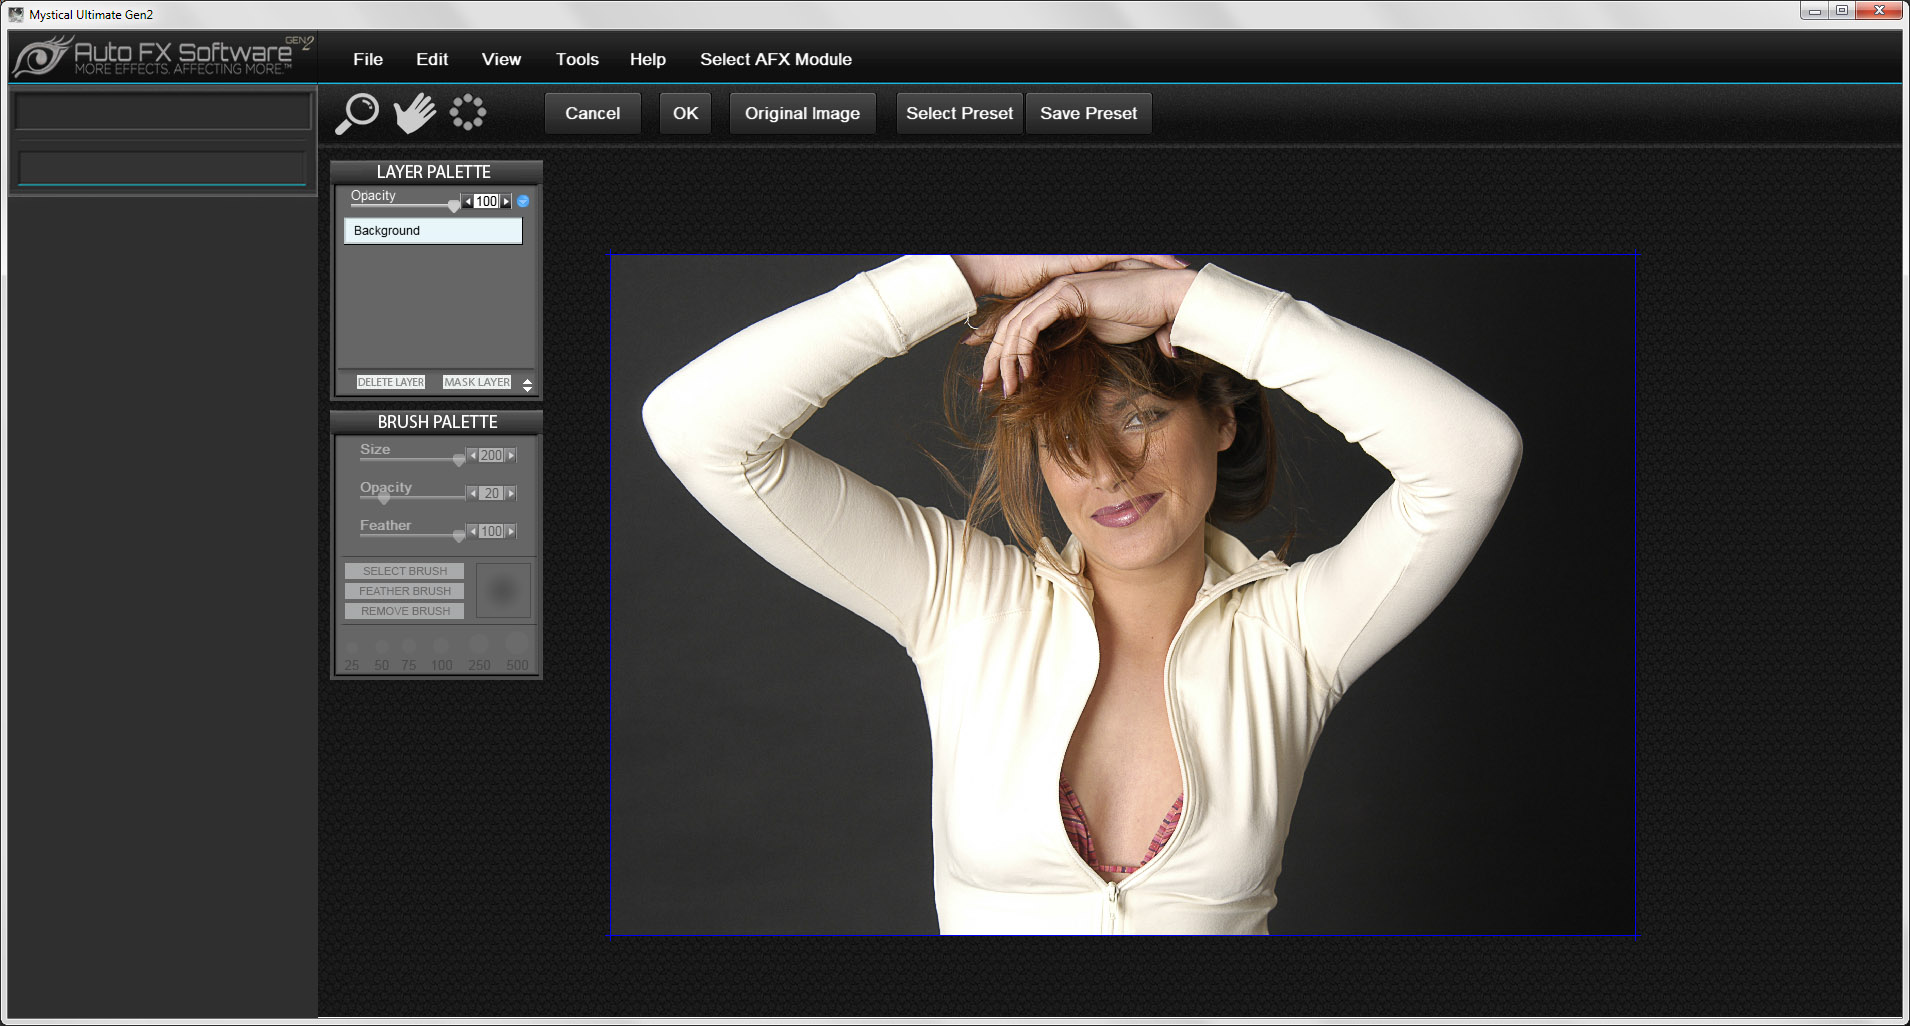
Do you posess a color photo that you would afterwards
prefer to have as a black & white version? In this case the
plugin is also a fast and reliable tool.

The plugin is loaded, the canvas is opened

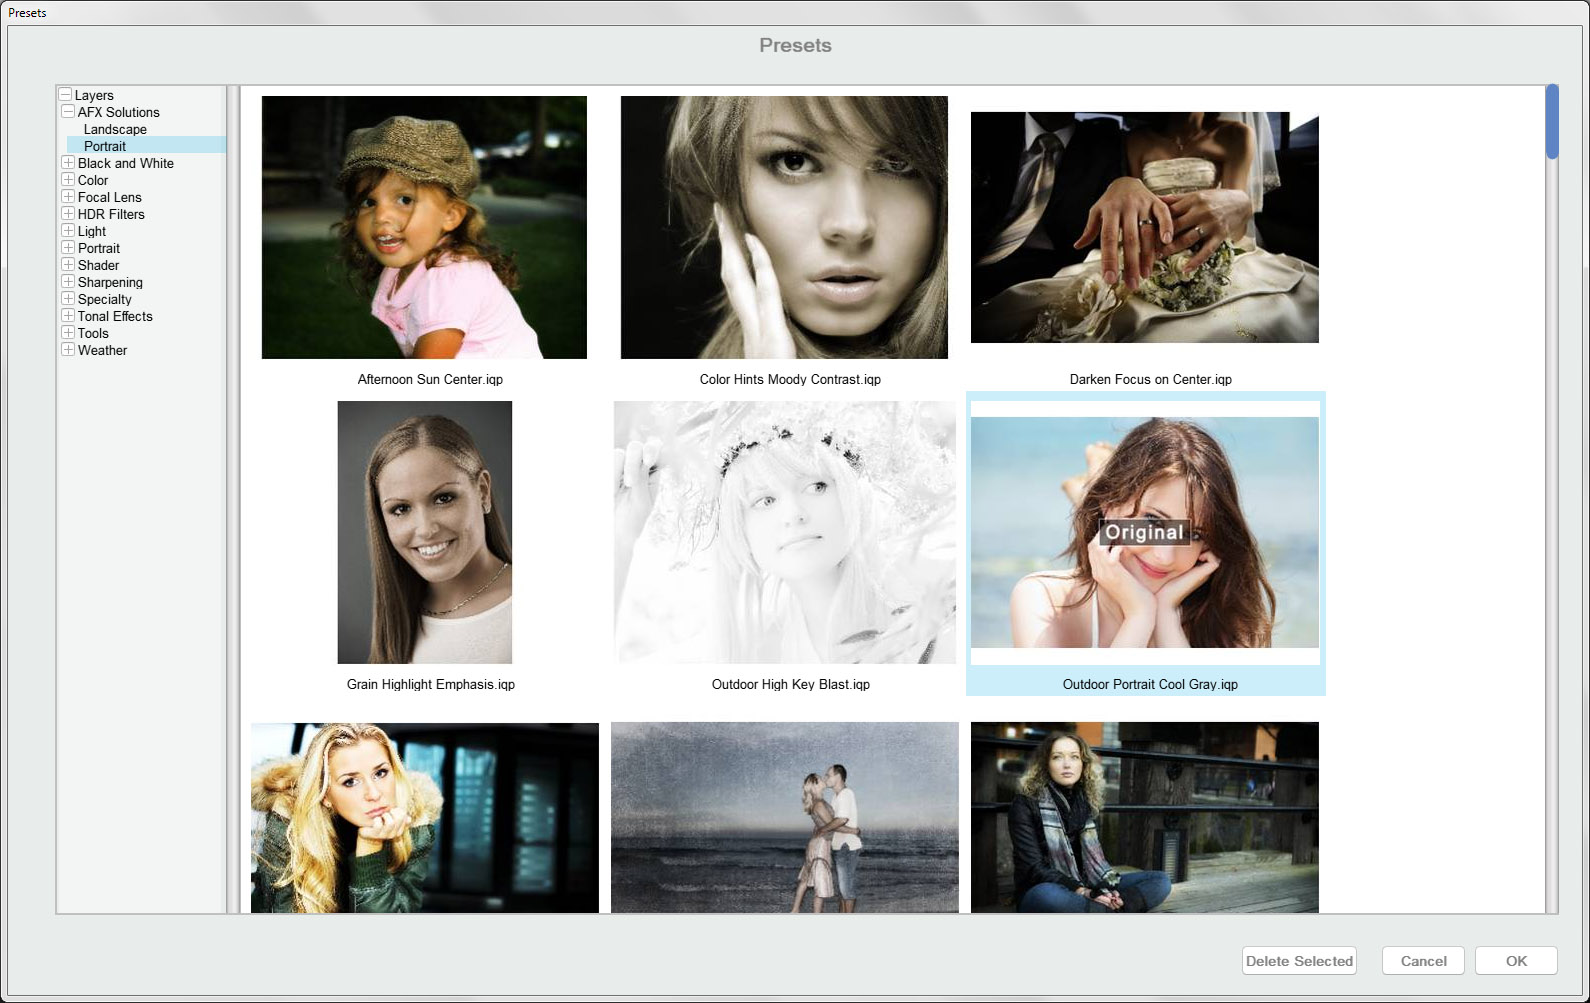
The selecting list for my preset
According to my personal way of working I press the button and choose
>Select Preset. Afterwards I select AFX Solutions/Portrait/Outdoor
Portrait Cool Grey in the list. Until now everything simple
and easy.

I would like to showcase (although not show off) my personal taste
here.
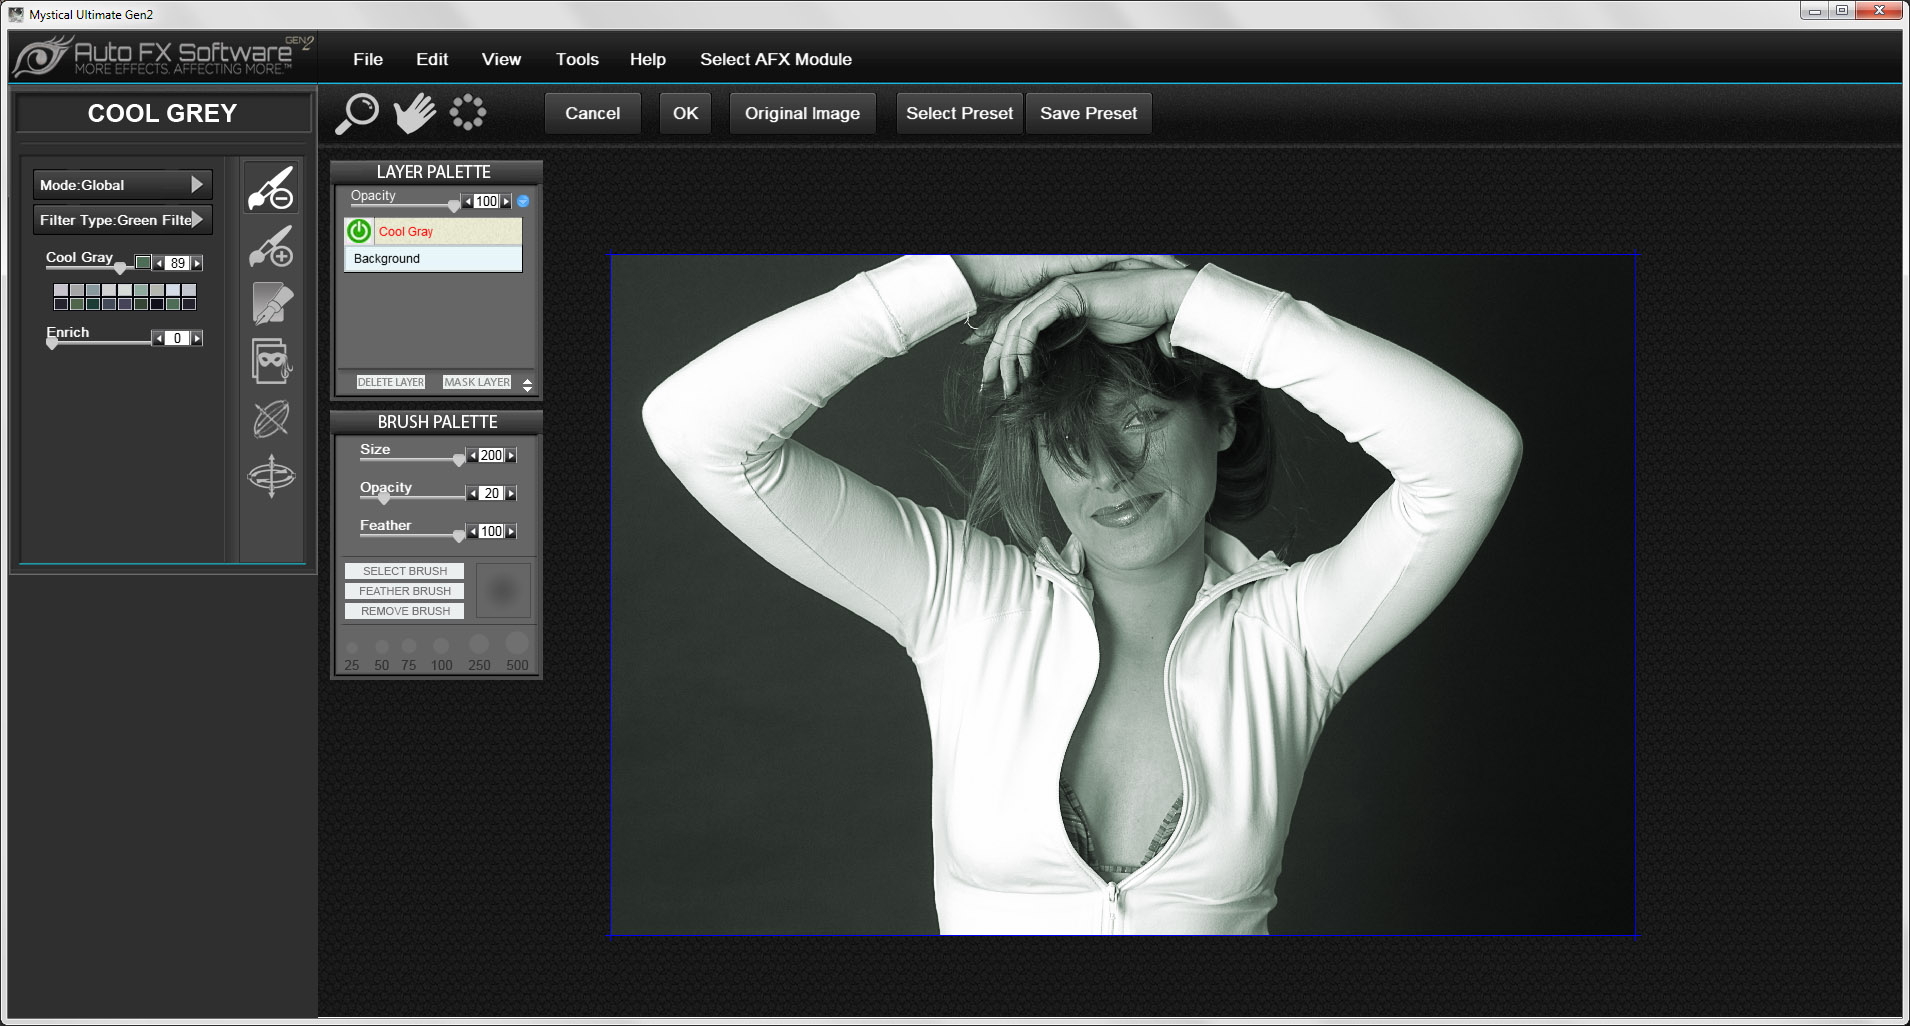
As not to be expected otherwise, the settings of Cool Grey
are added and my thumbnail does instantly take over the corresponding
settings. In order to create the photo completely according to my
desires I can find an array of sliders and buttons at the left-hand
side.
Here I set the filter type to Green Filter
and among the provided color boxes I clicked on a green tone. That
was it already, but I should probably just click on OK, otherwise
I will still sit in front of my image tomorrow.

This is how I imagined it – photographer: Michael Bernigau
– www.a-dezign.de
Four effects on one
image
Usually the user has an idea of one or more
changes that he would like to add to his photo. This is not always
rewarding as far as a review is concerned. That´s why I chose
another way.

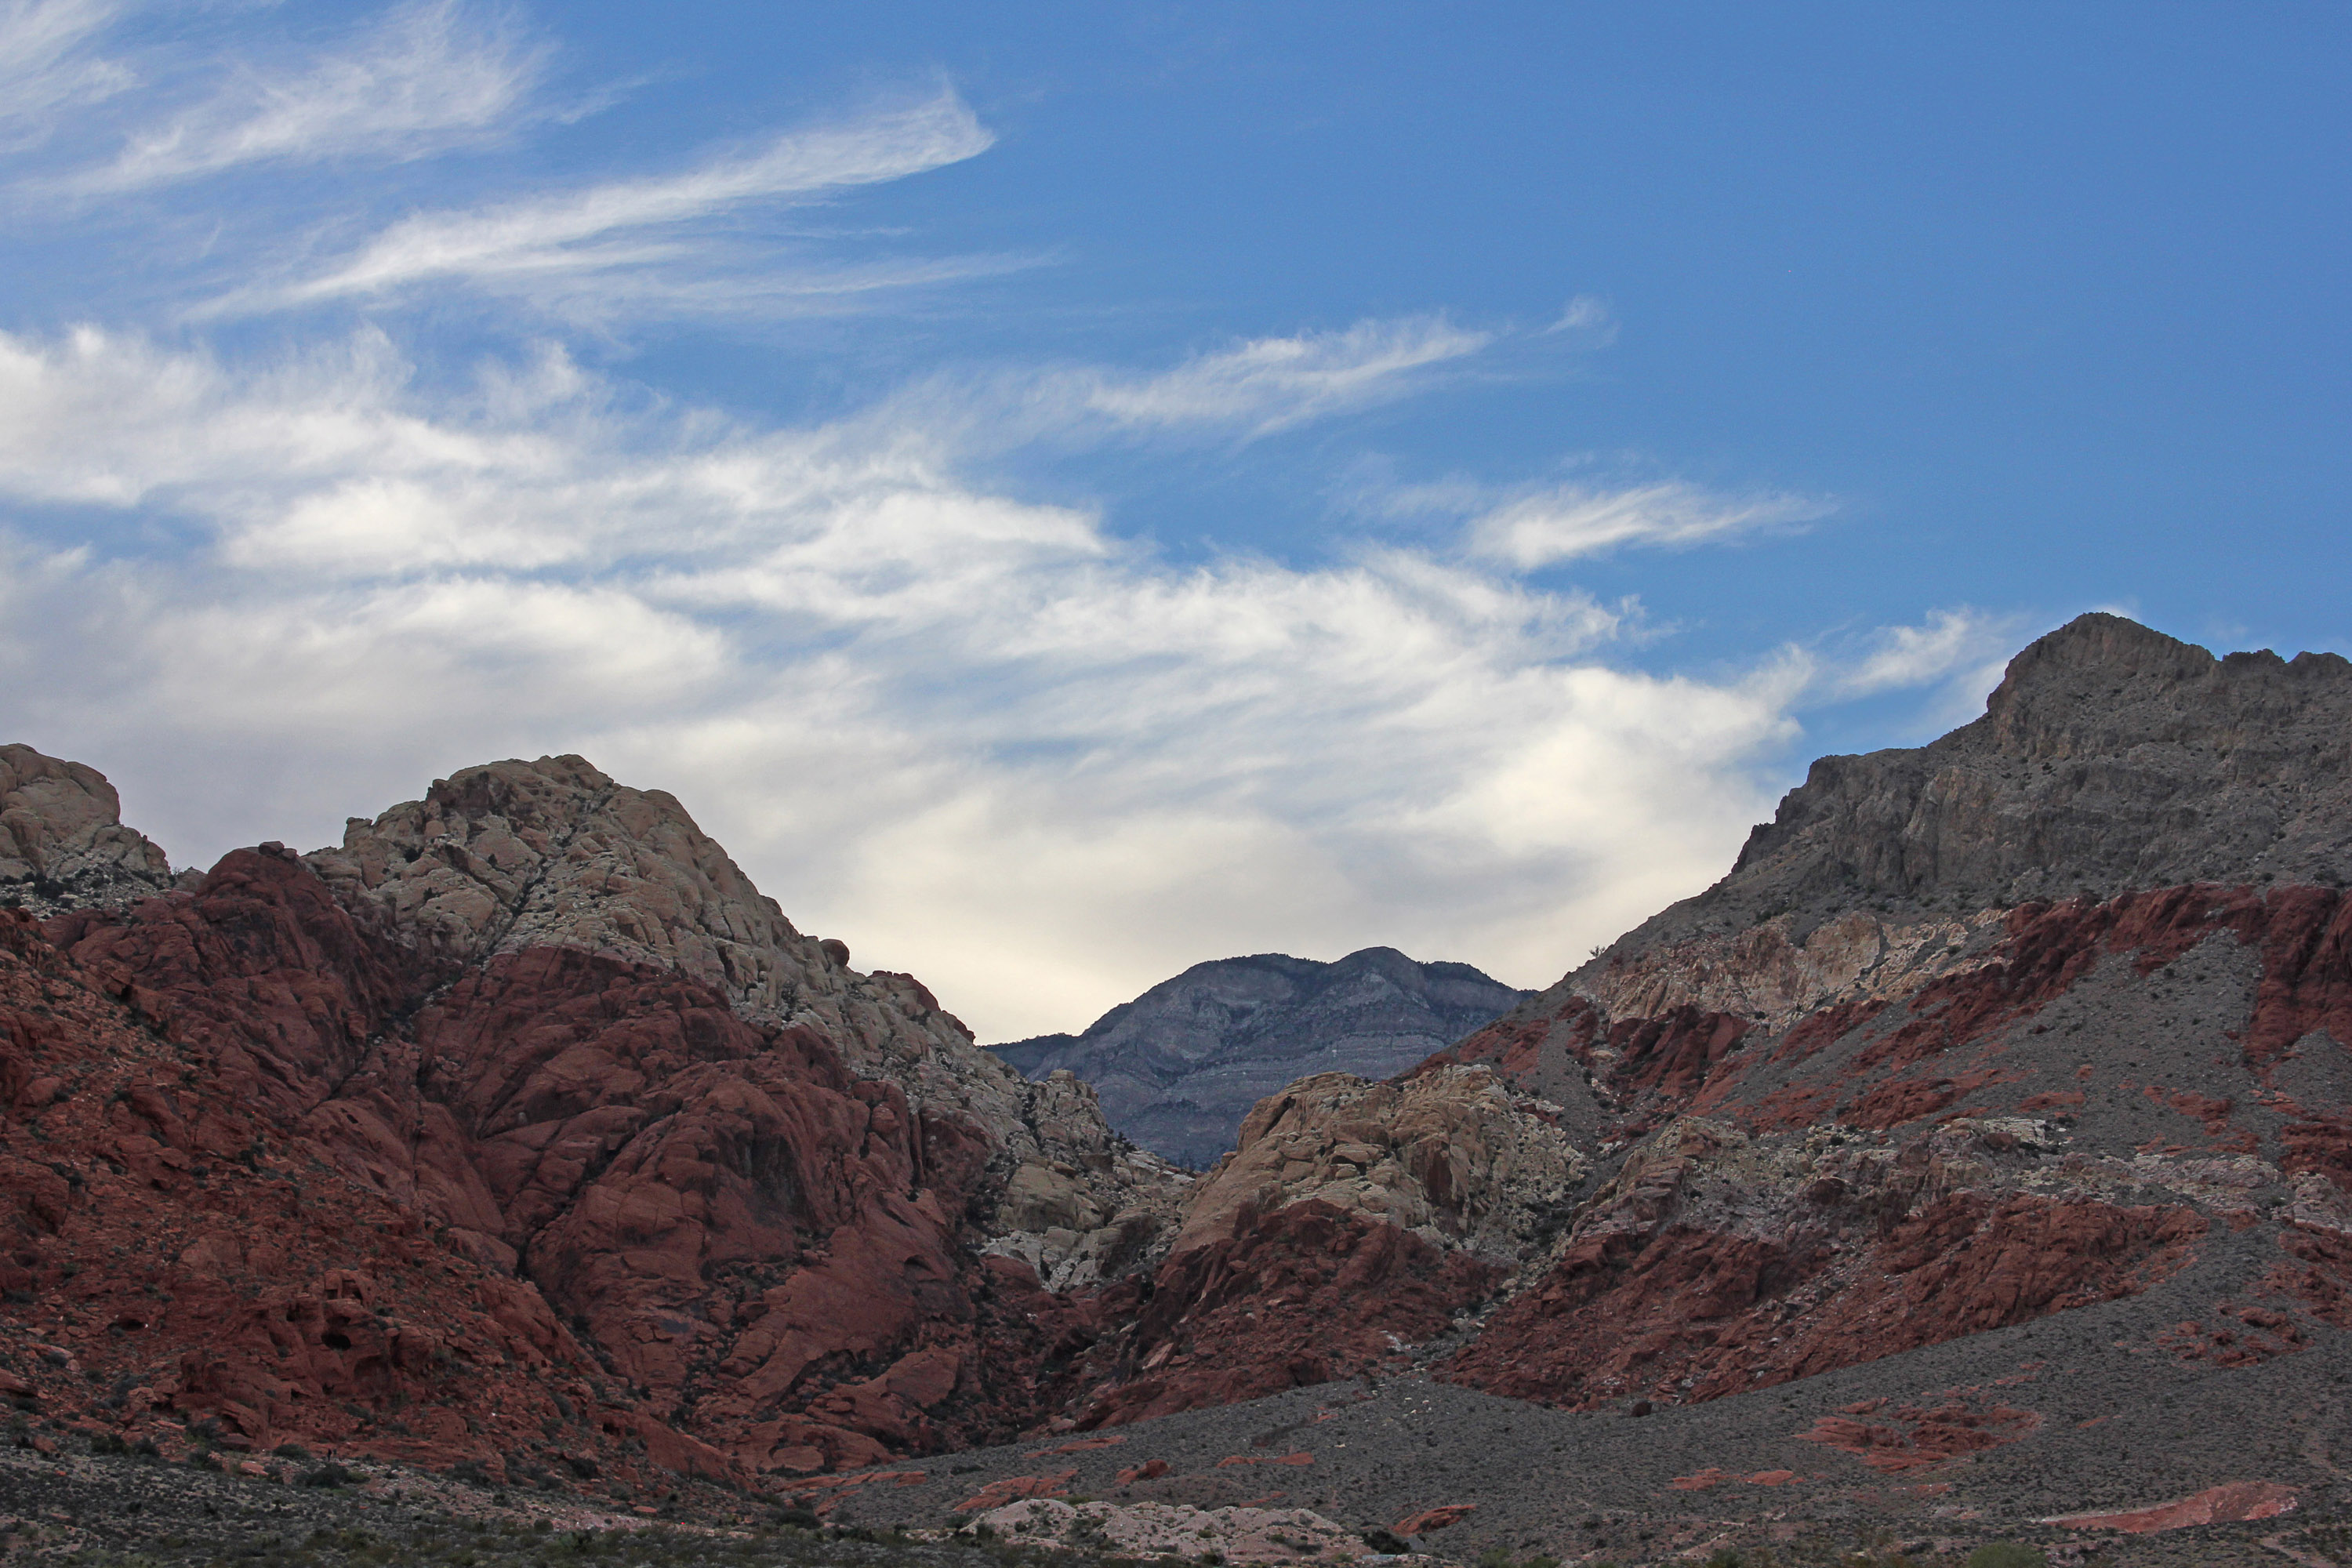
Original image – photographer: Silvia Kuhnlein – www.a-dezign.de
I just took a photo. In this case it displays the „Red Canyon“,
close to Las Vegas. Easy to notice, a sparse landscape with numerous
reddish rocks that contributed to the name.

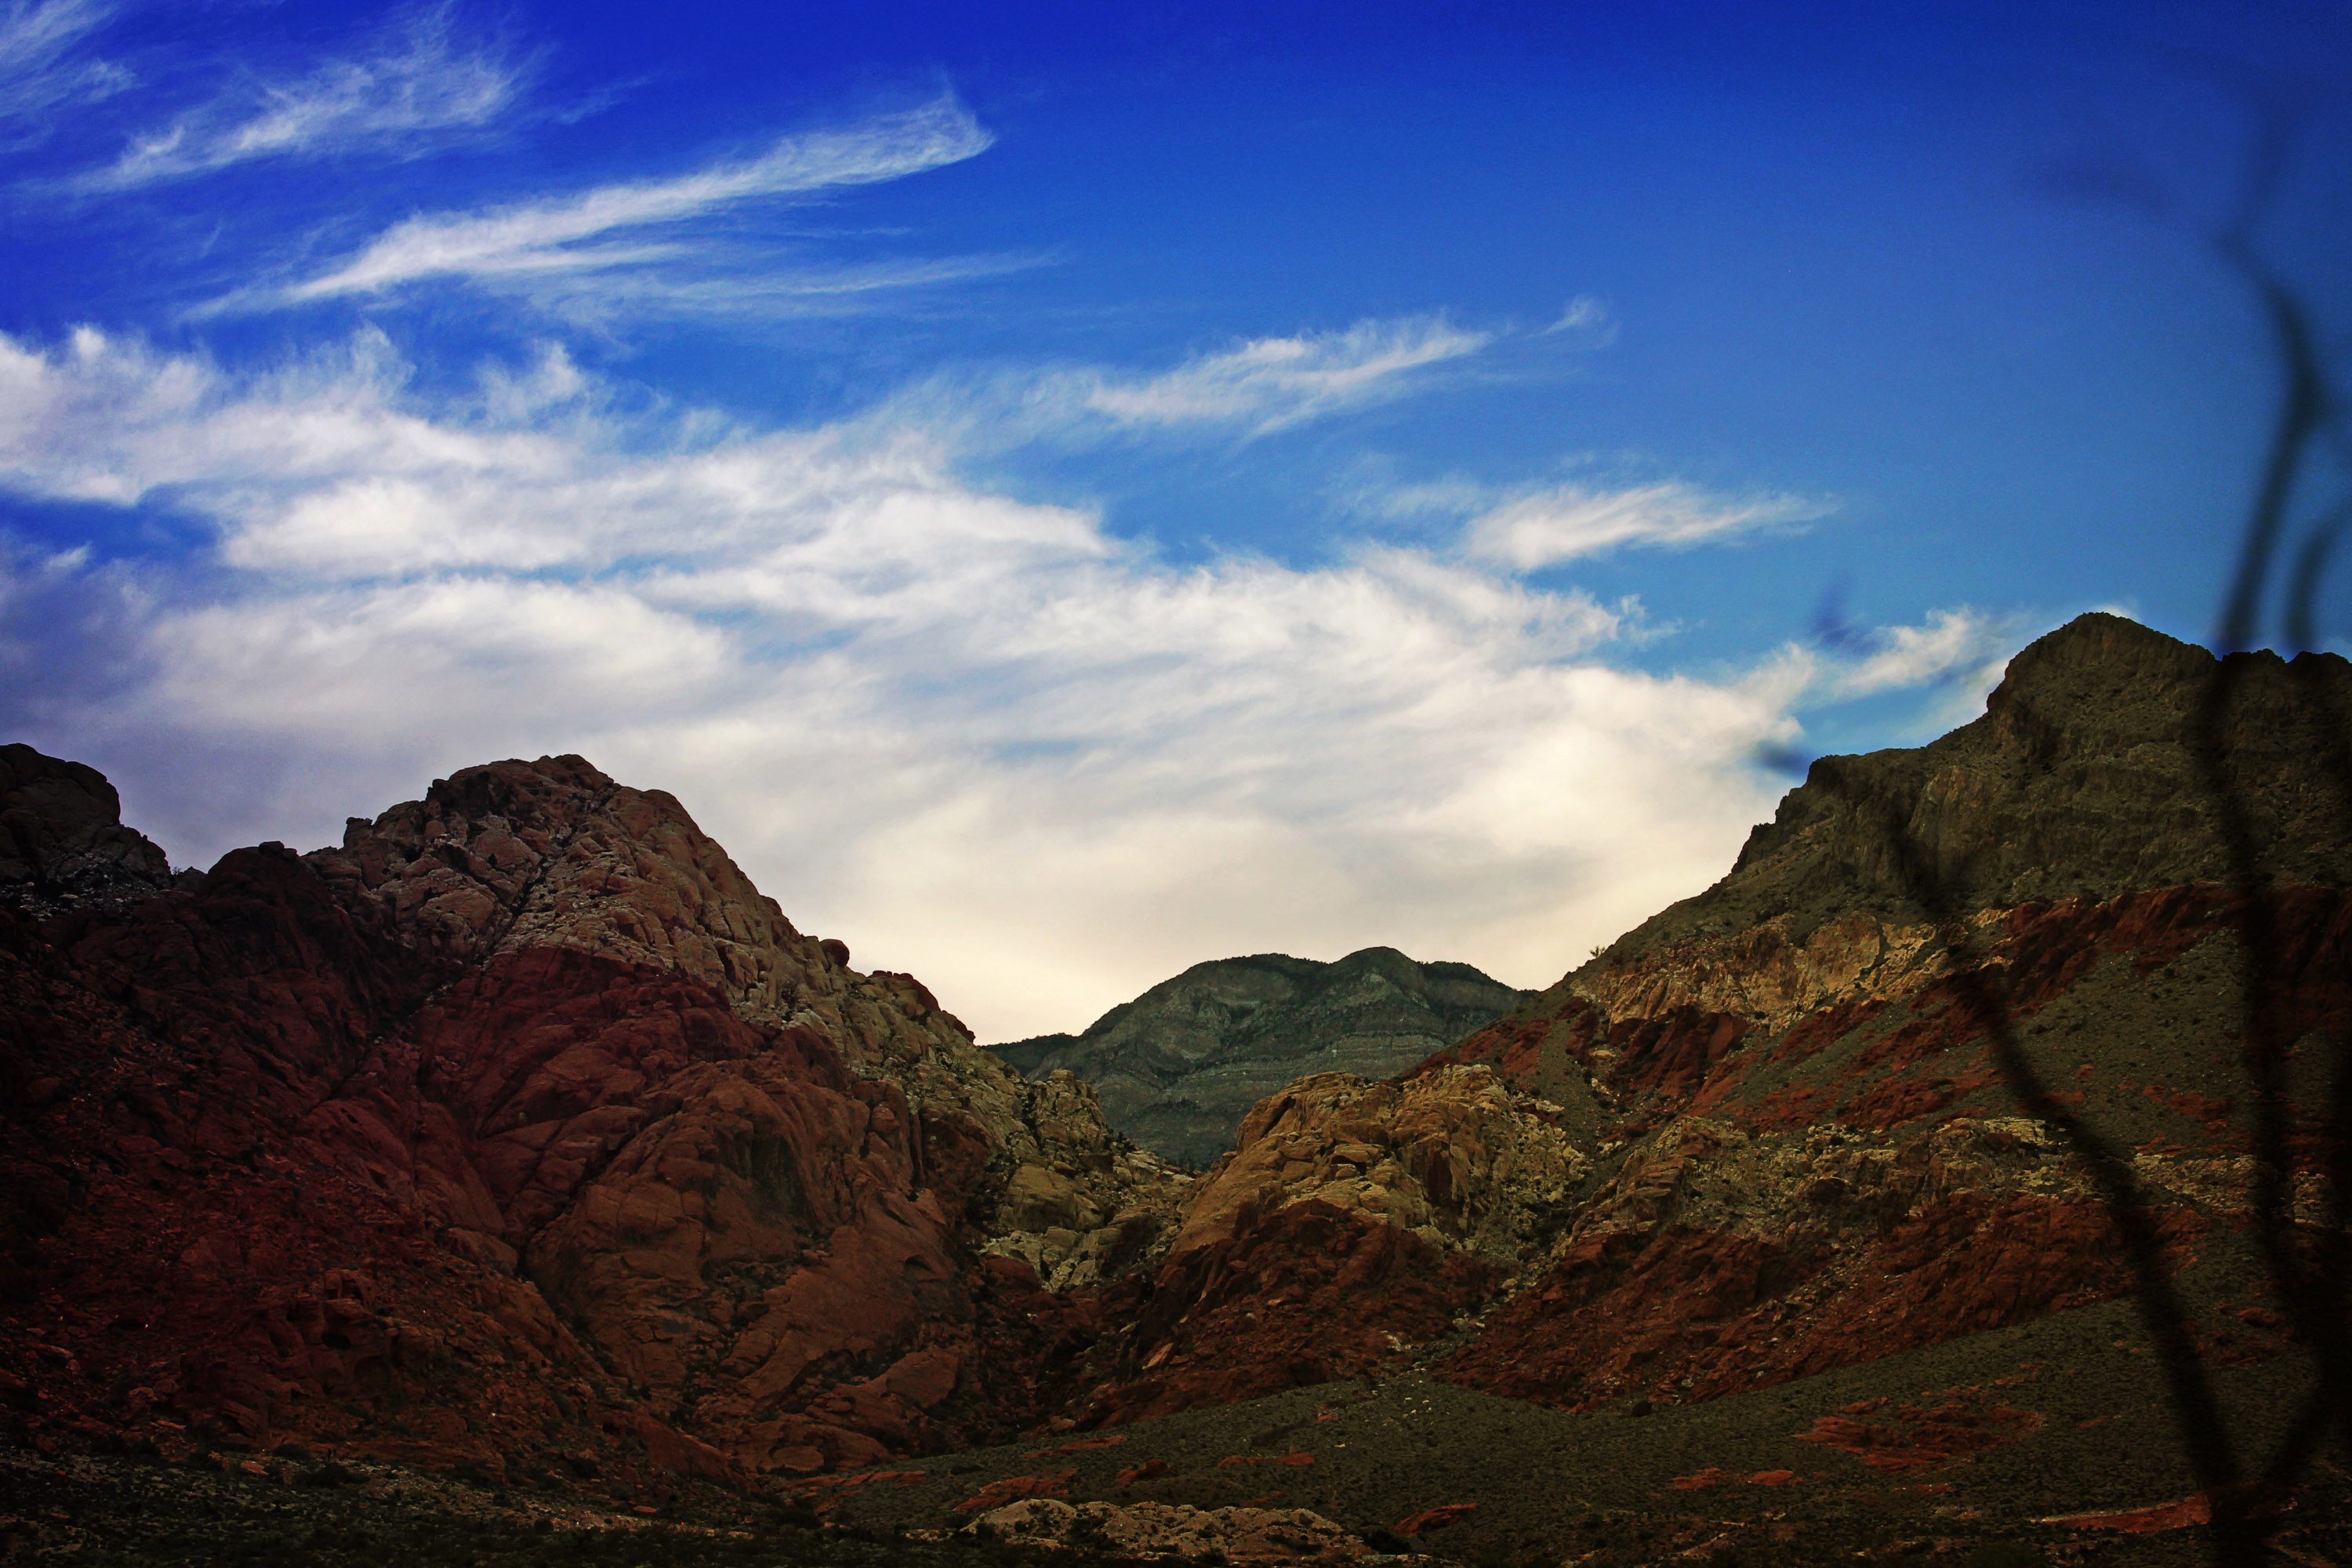
Somehow I ended up in another canyon now, everything looks a bit
different –
photographer: Silvia Kuhnlein – www.a-dezign.de
Afterwards I loaded Mystical Gen2 and watched a variety of the provided
effects applied to my image. This method may neither be very recommendable
for you, but you certainly do not write reviews.
Last, but not least I applied the following
effects to the photo: Multiple Darks, Shadow Play, Gradient
Tinting and Vitality. Although the result has changed
the landscape quite much, you can witness what the plugin is able
to pull off.
Guess what I will write at the end? Correctly
guessed: Visit the page of the manufacturer www.autofx.com.
There you can find the download as a fully working demo version,
see for yourself what is going on.
Kay Michael Kuhnlein
|